The Matrix
Story Anatomy and Analysis Forms
(captions on photos best viewed on a desktop or tablet)
1. Act Structure Overview

1.1 Act Structure Details and Captions

General - The only world known to our protagonist is the Matrix, a world like the 1990s.
Neo/Mr. Anderson - Protagonist - A computer programmer that lives by the alias Neo and questions about the Matrix
Trinity - Love Interest - Also a computer hacker that has been saved from the Matrix.
Morpheus - Mentor - The one seeking for the one to save Zion from the Matrix
The Matrix - Antagonist - The only world known to those who are jacked in for use as a battery to the Matrix.
Agent Smith - Antagonist - Servant to the Matrix who wants out

Choice/Action - Neo having been searched for by Morpheus gets a Call to Adventure. Accepting the call, he refuses it and then is reluctant to accept it but after Trinity empathizes with him in the car under the bridge, he chooses to move forward.
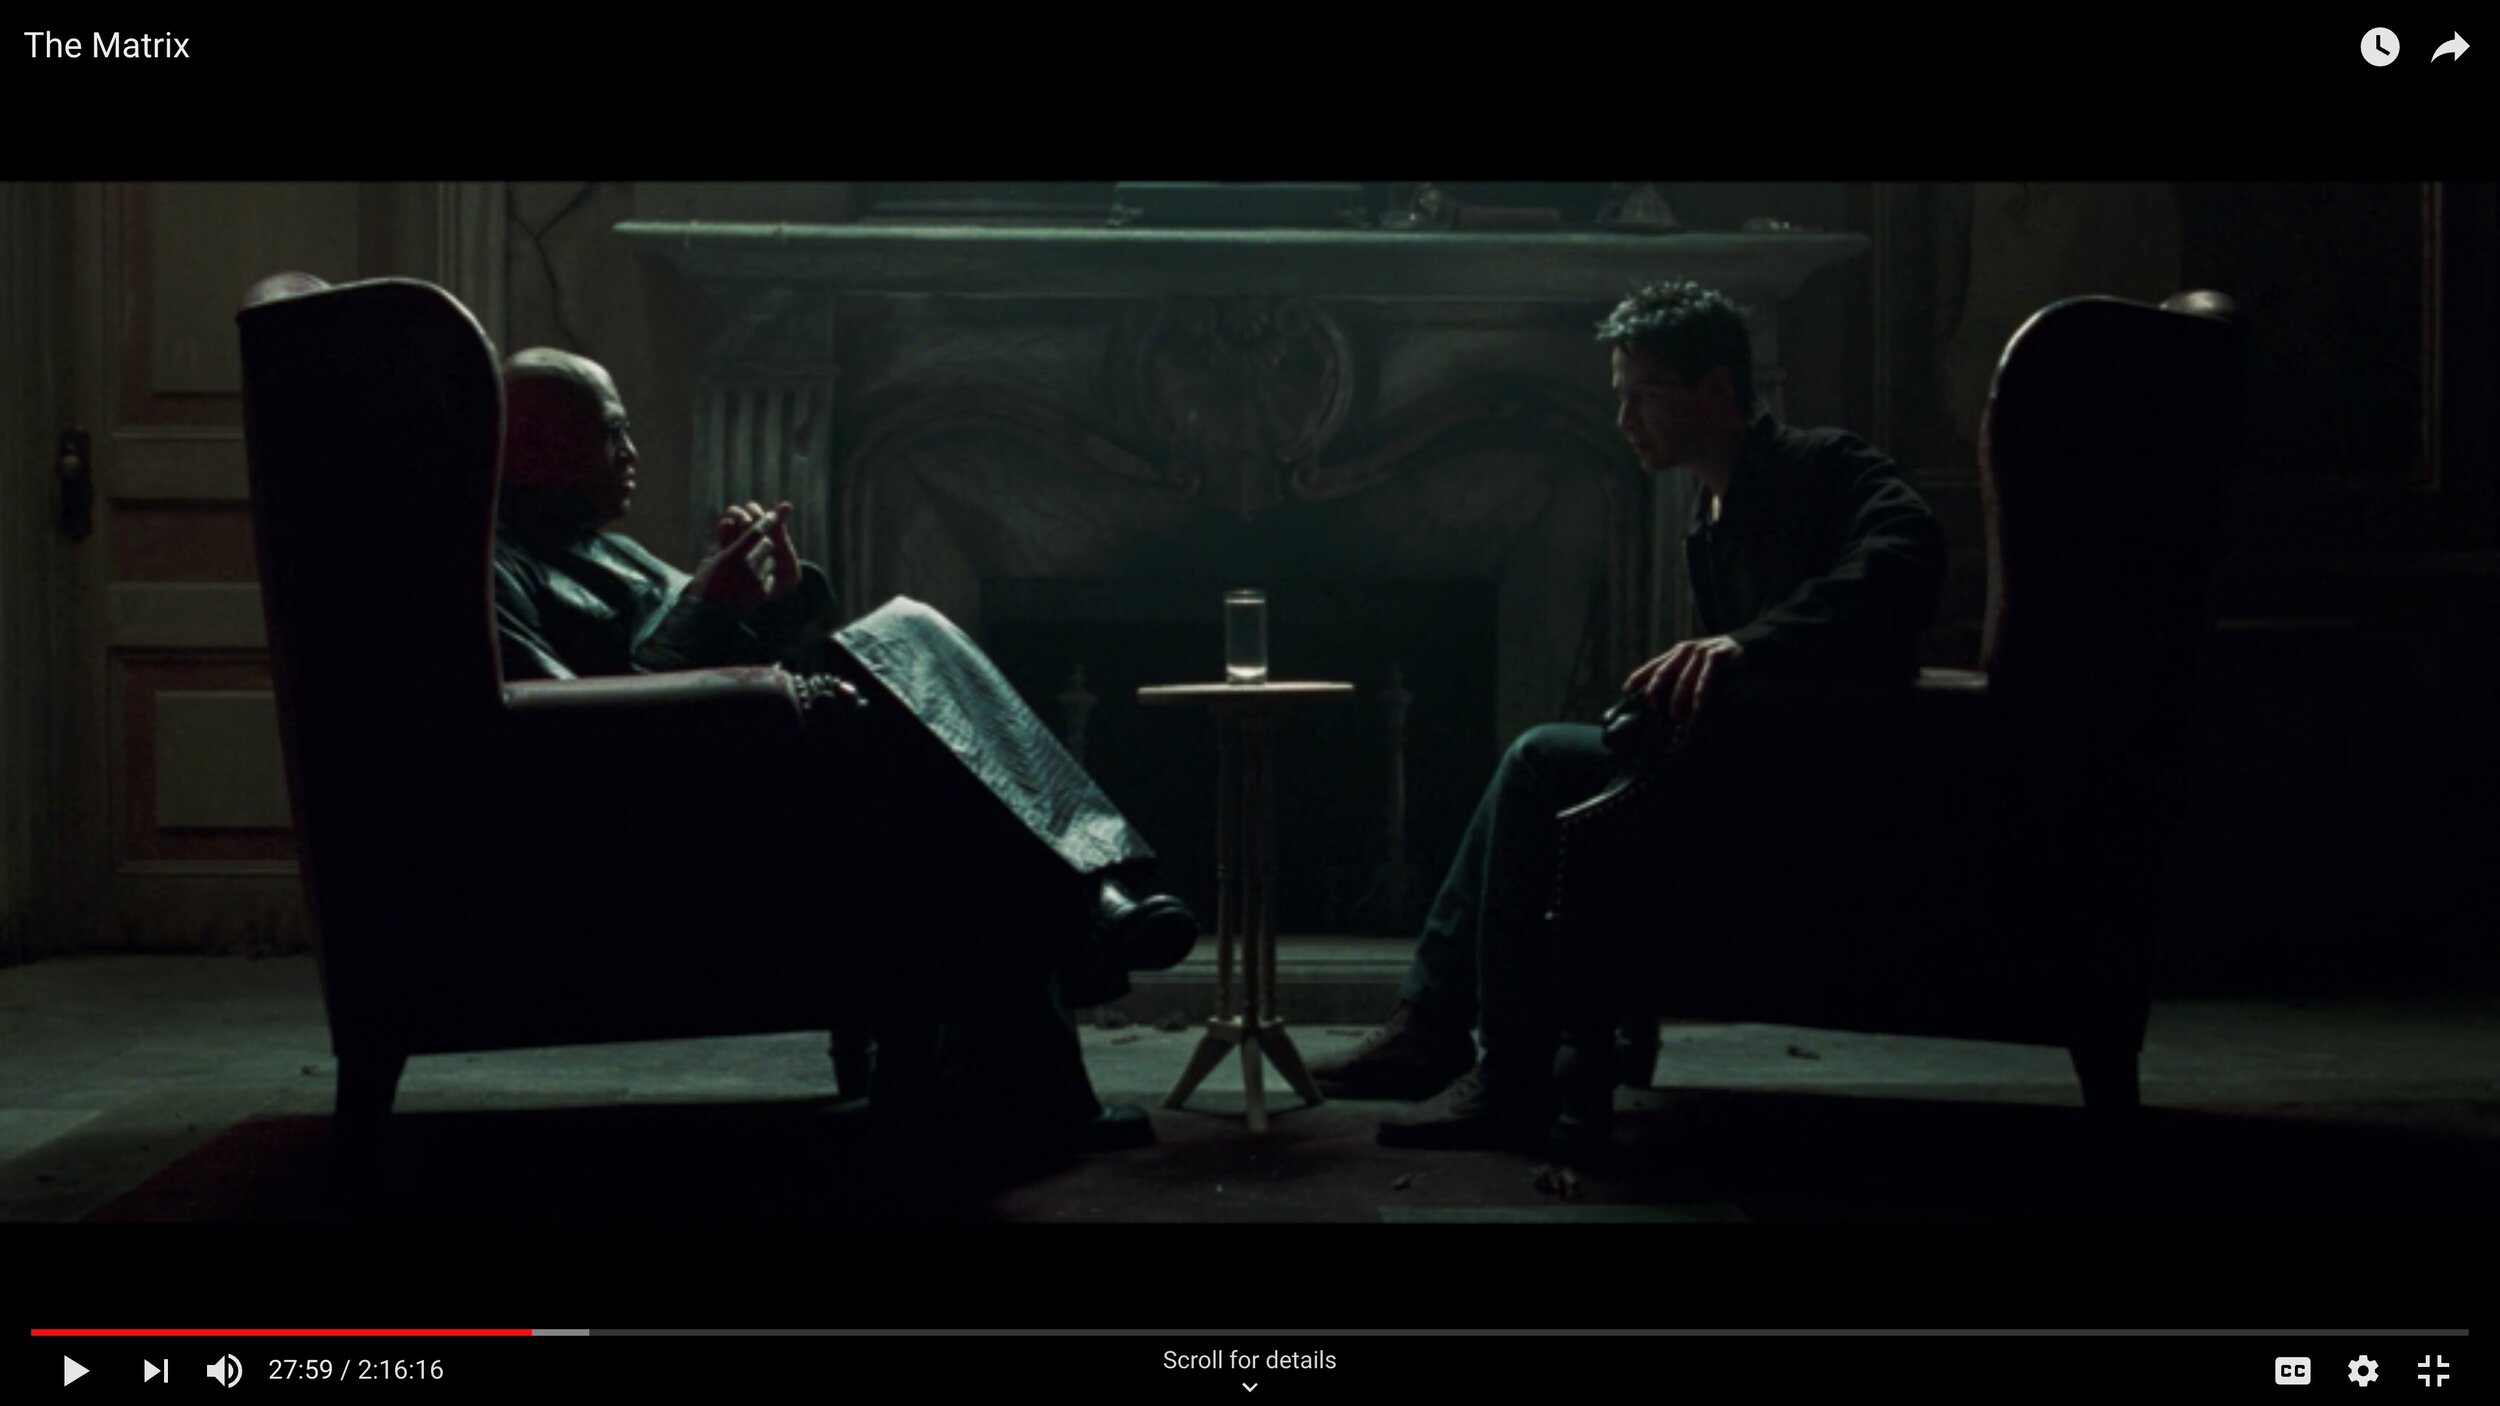
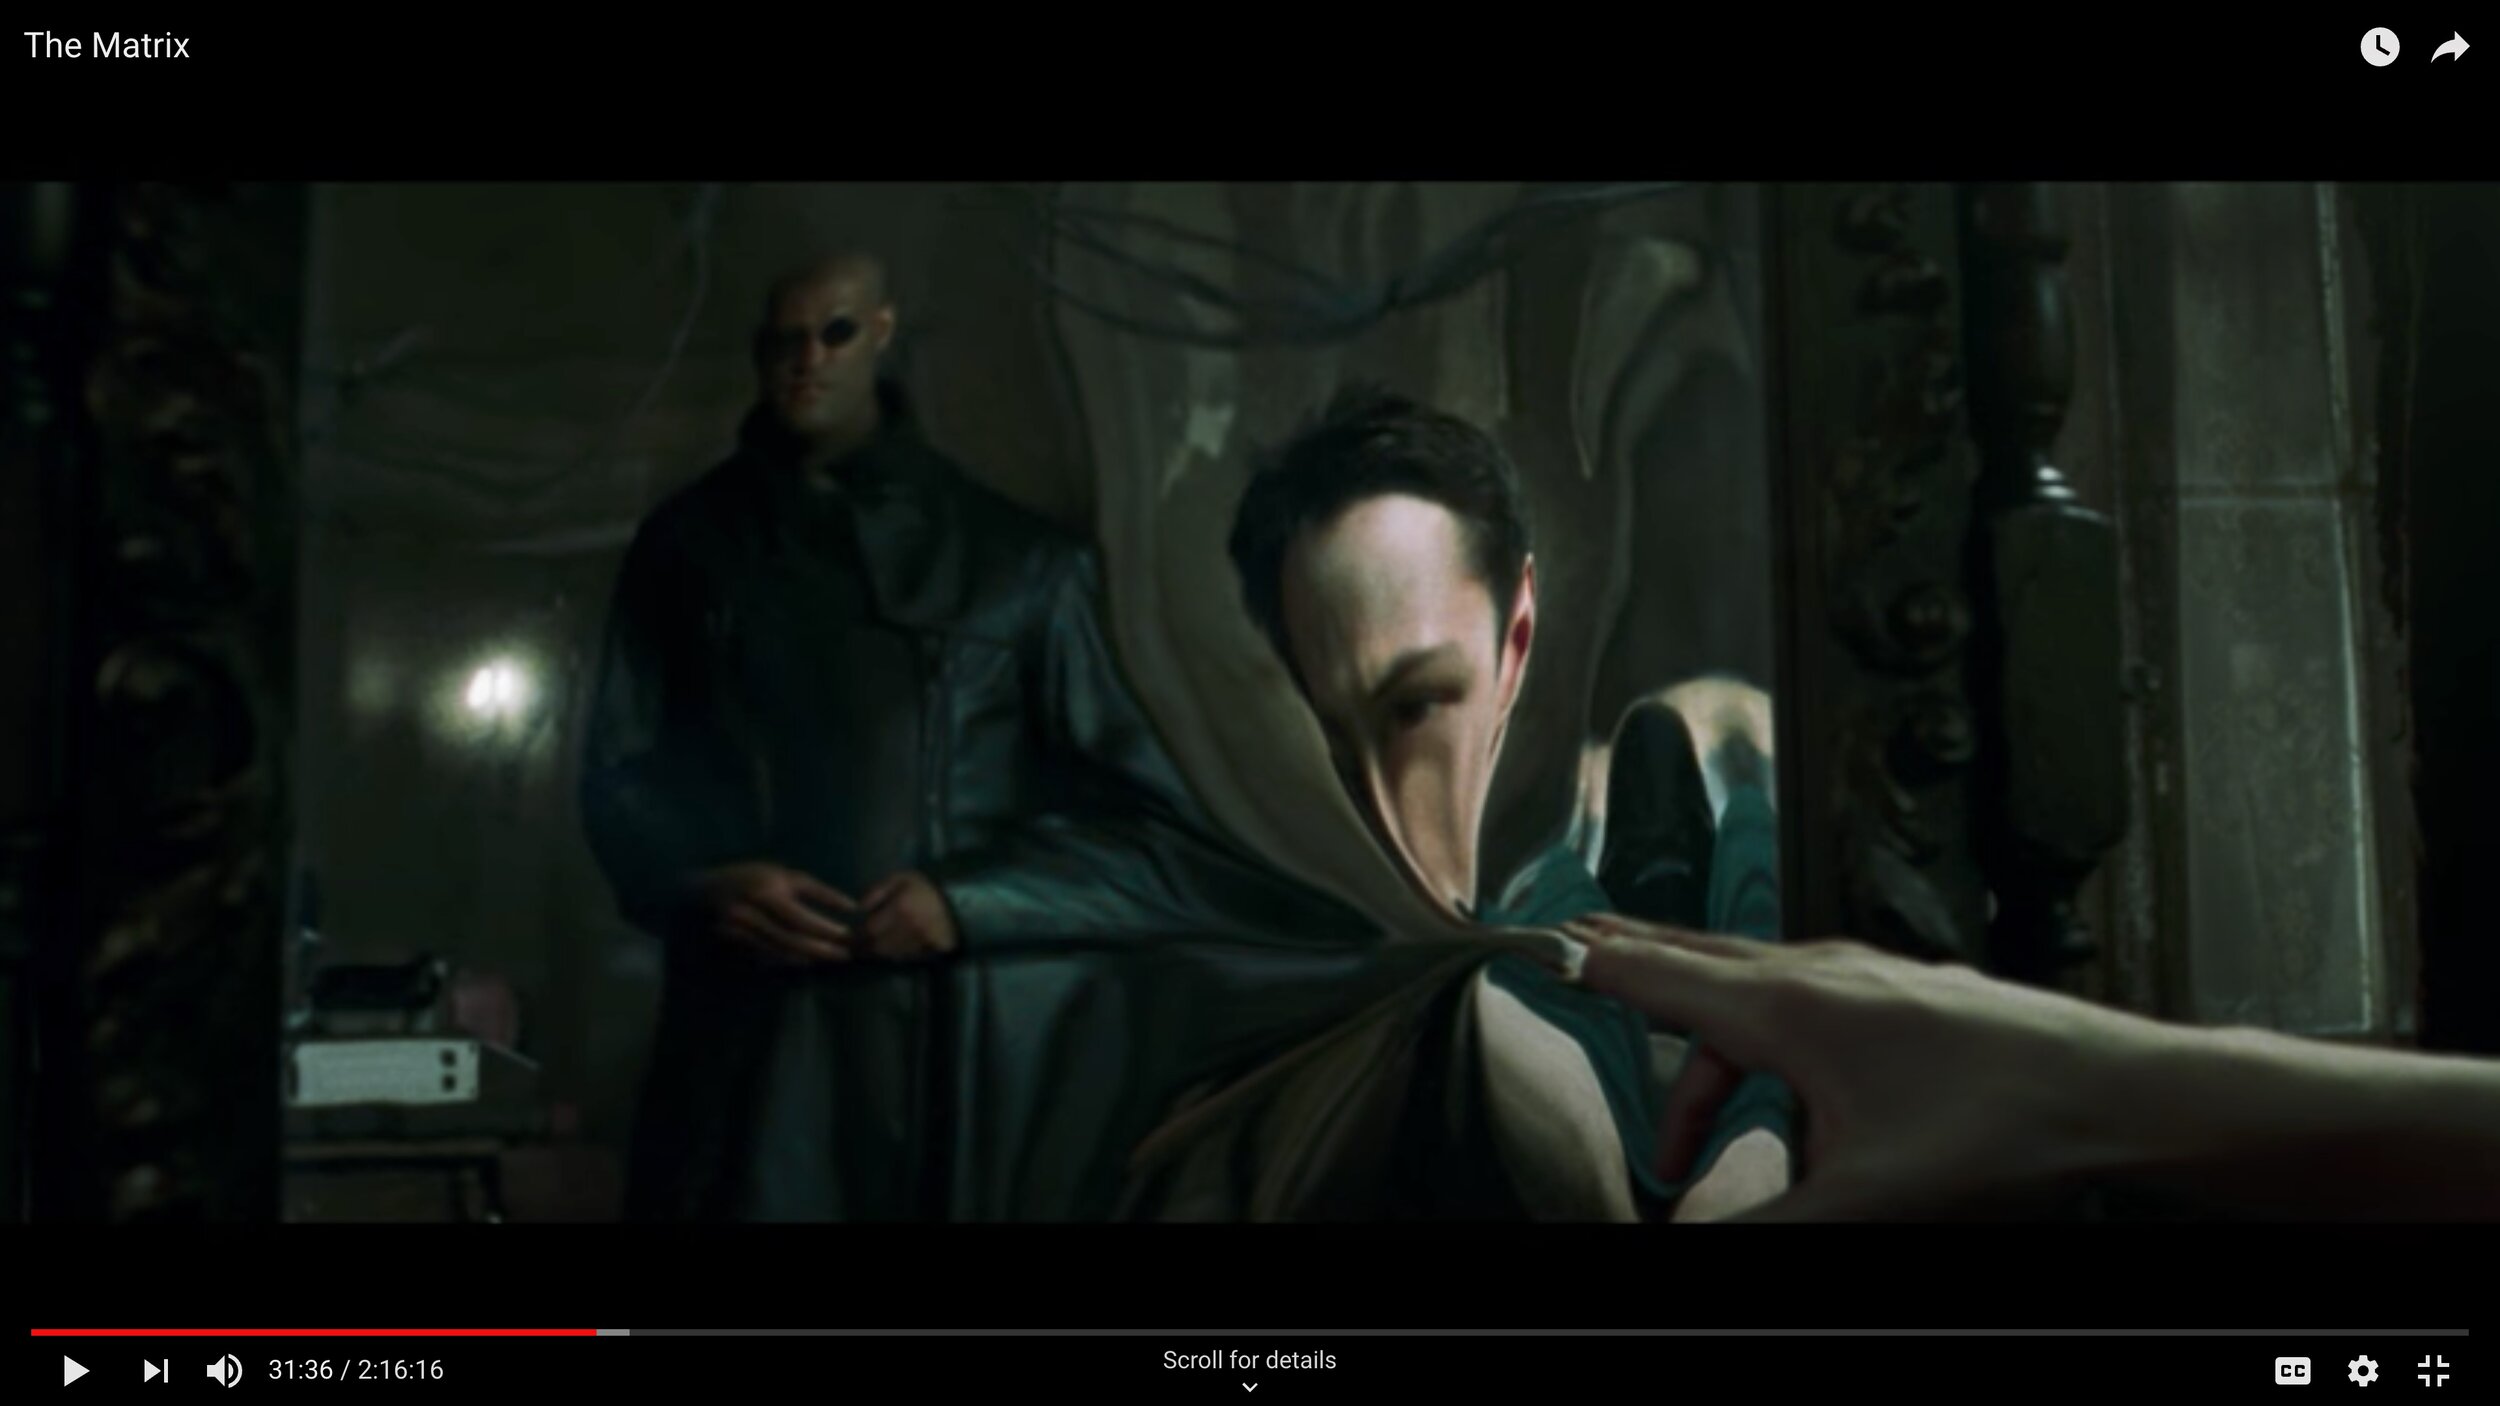
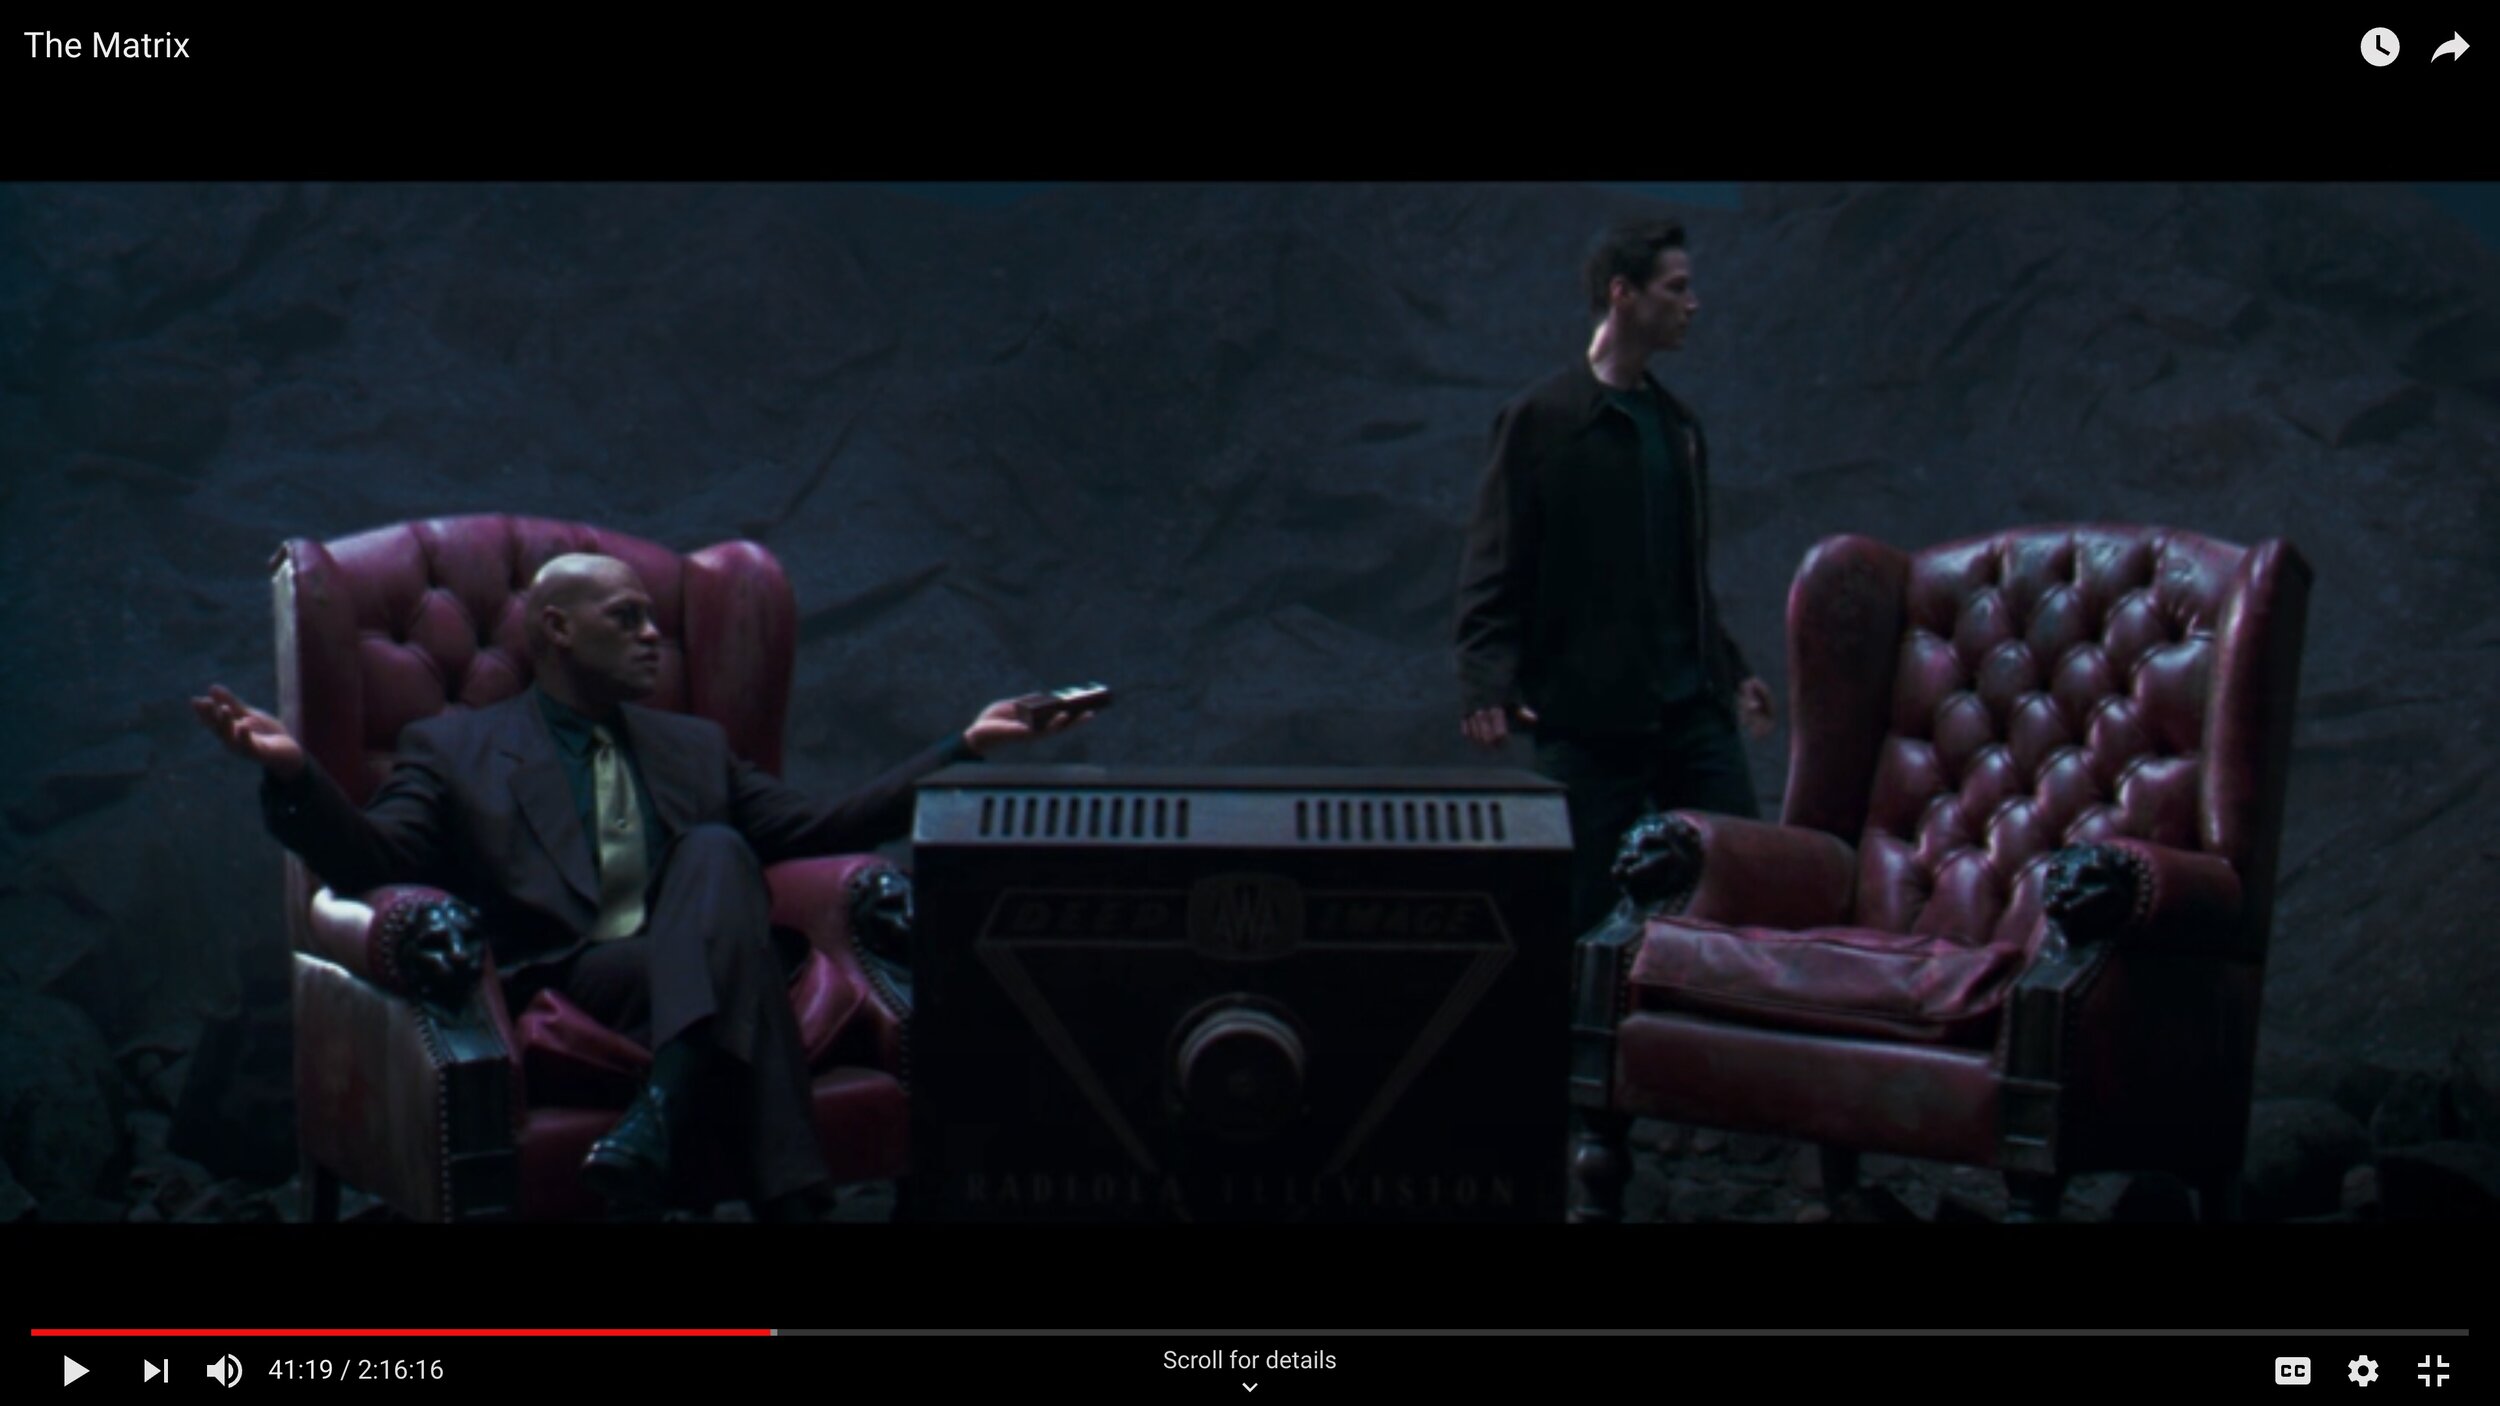
Reaction - Trinity and the crew guide him to the next step where Neo confronts Morpheus and is given a choice of pills.

Choice/Action - Neo, willing to suffer the consequences, wants to know more that just his normal world. He chooses and take the red pill.
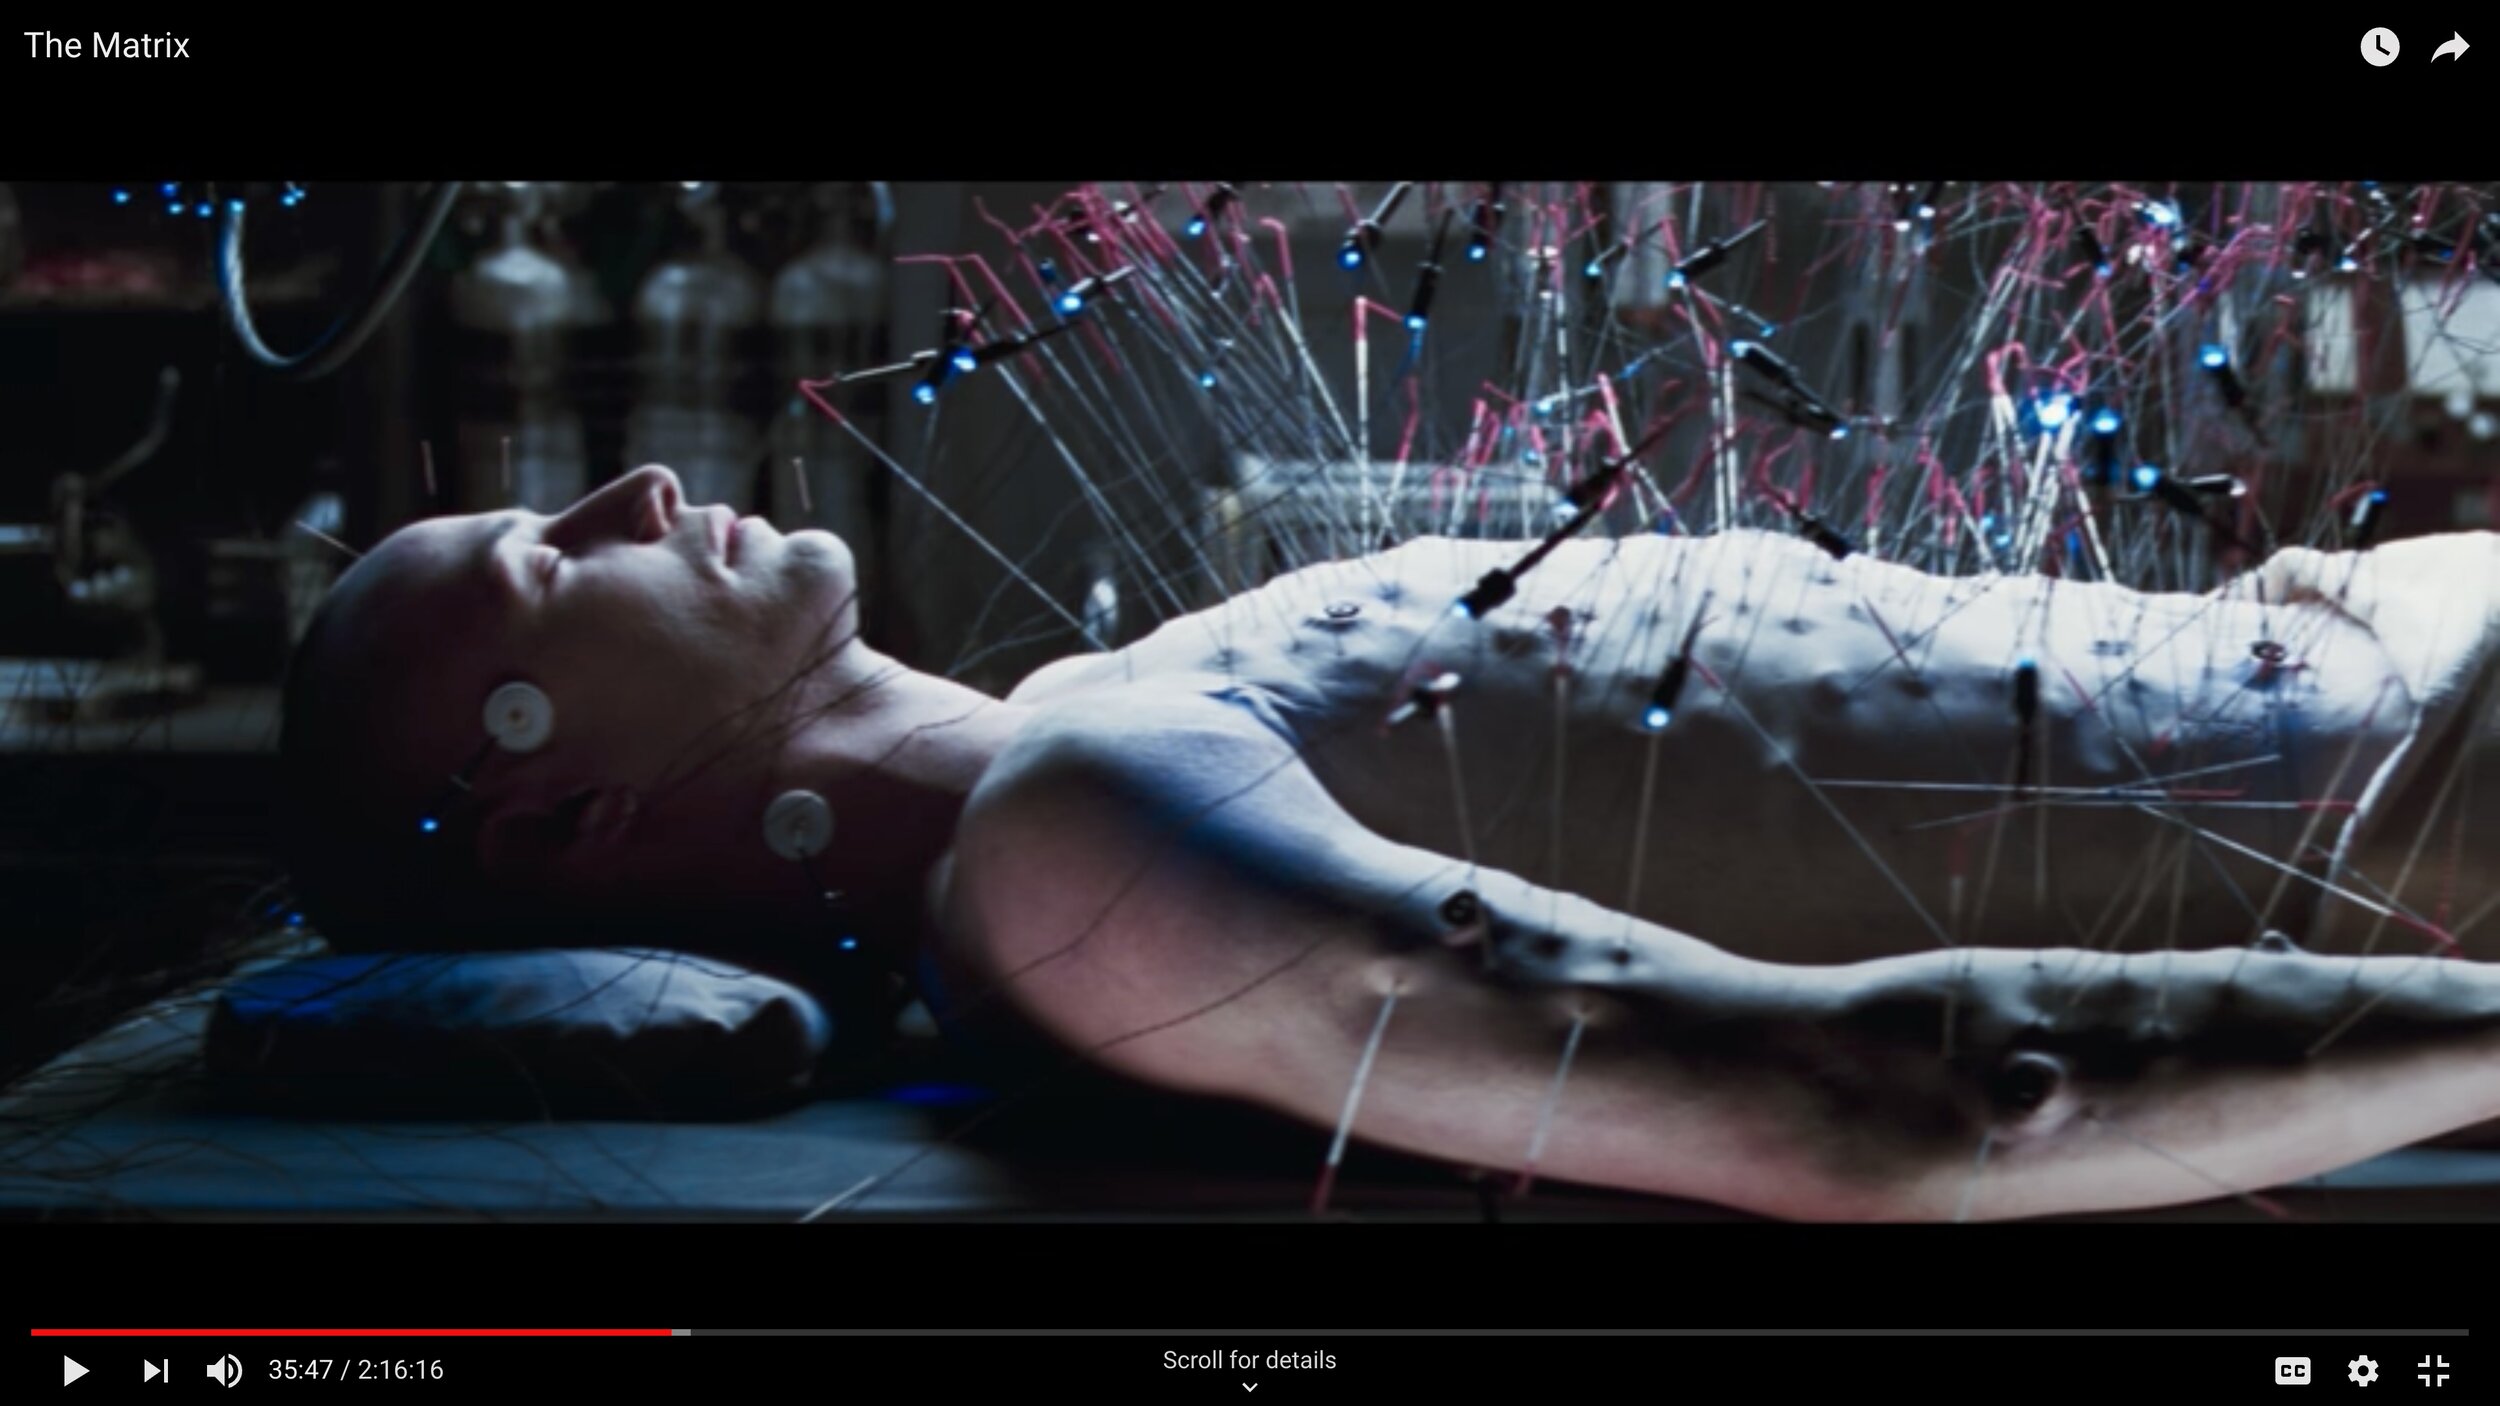
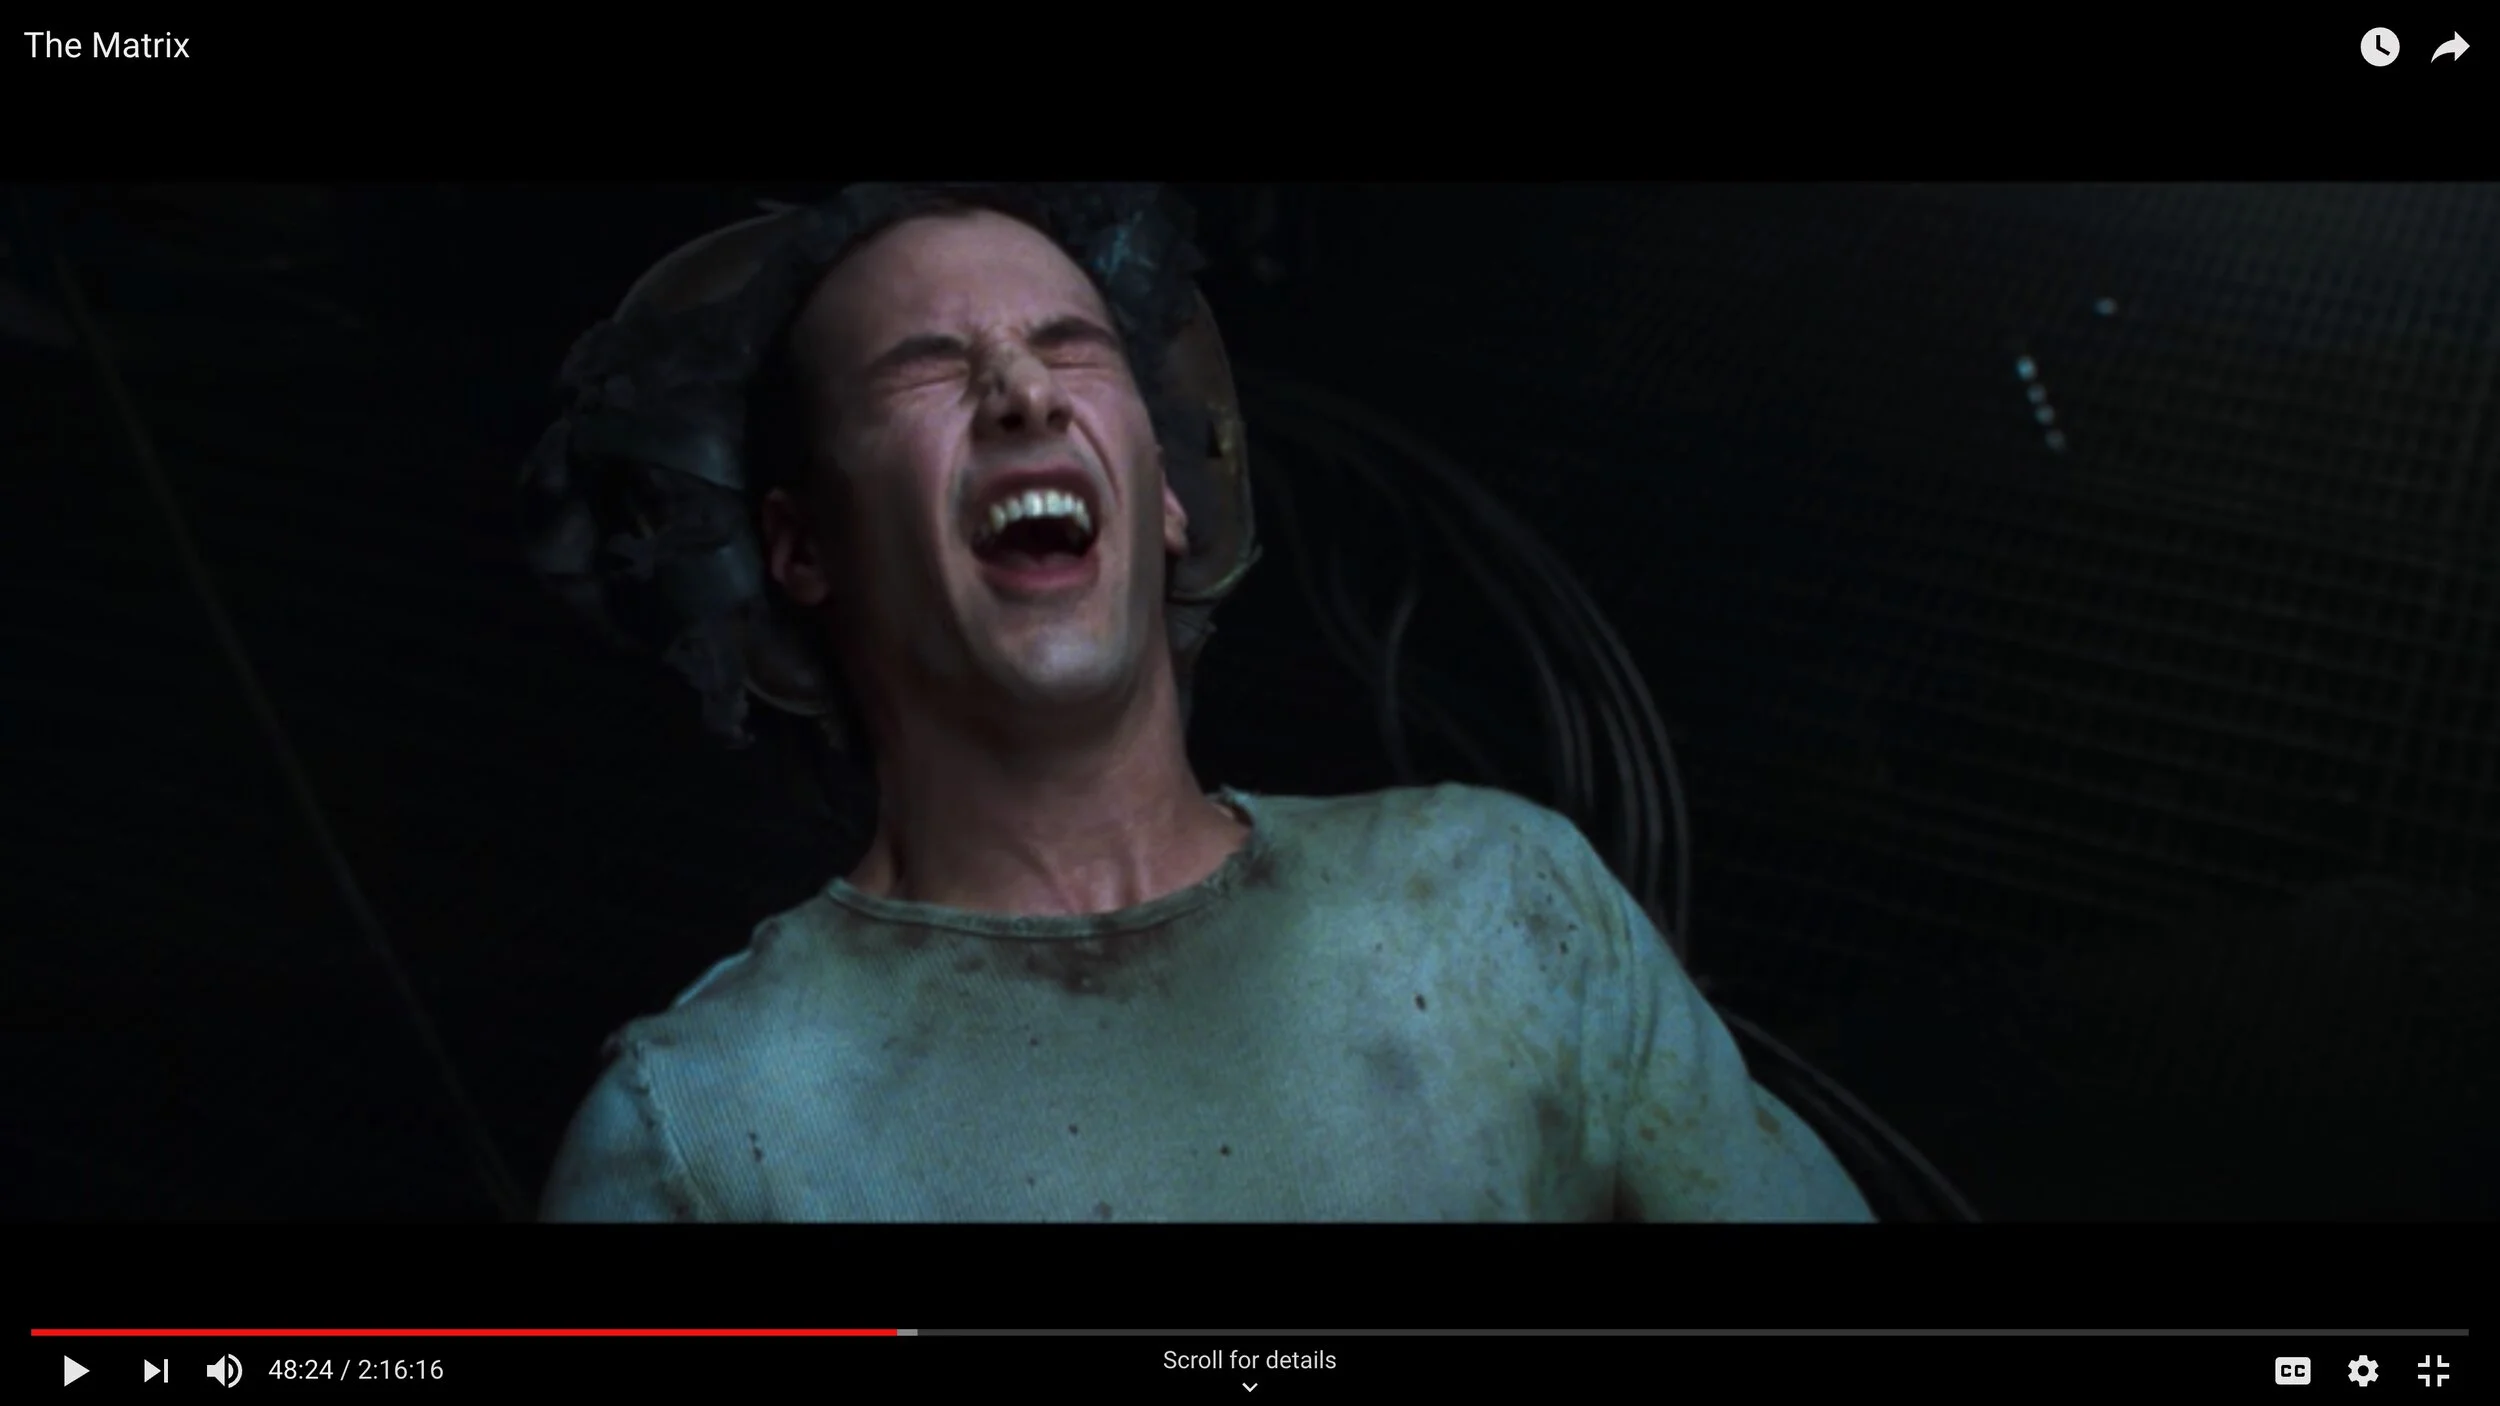
Reaction - Neo is tracked and extracted from the Matrix then taken to the Nebuchadnezzar in the Real World.

Now in the world of the unknown, Neo is born in the Real World and ready to take on the trials of initiation to his purpose.

While those around him believe he is, Neo goes in to see the Oracle to be told if he is the one or not. He is told he is not the one by the Oracle. Everything leading up to this point seems meaningless now, thus the reversal.

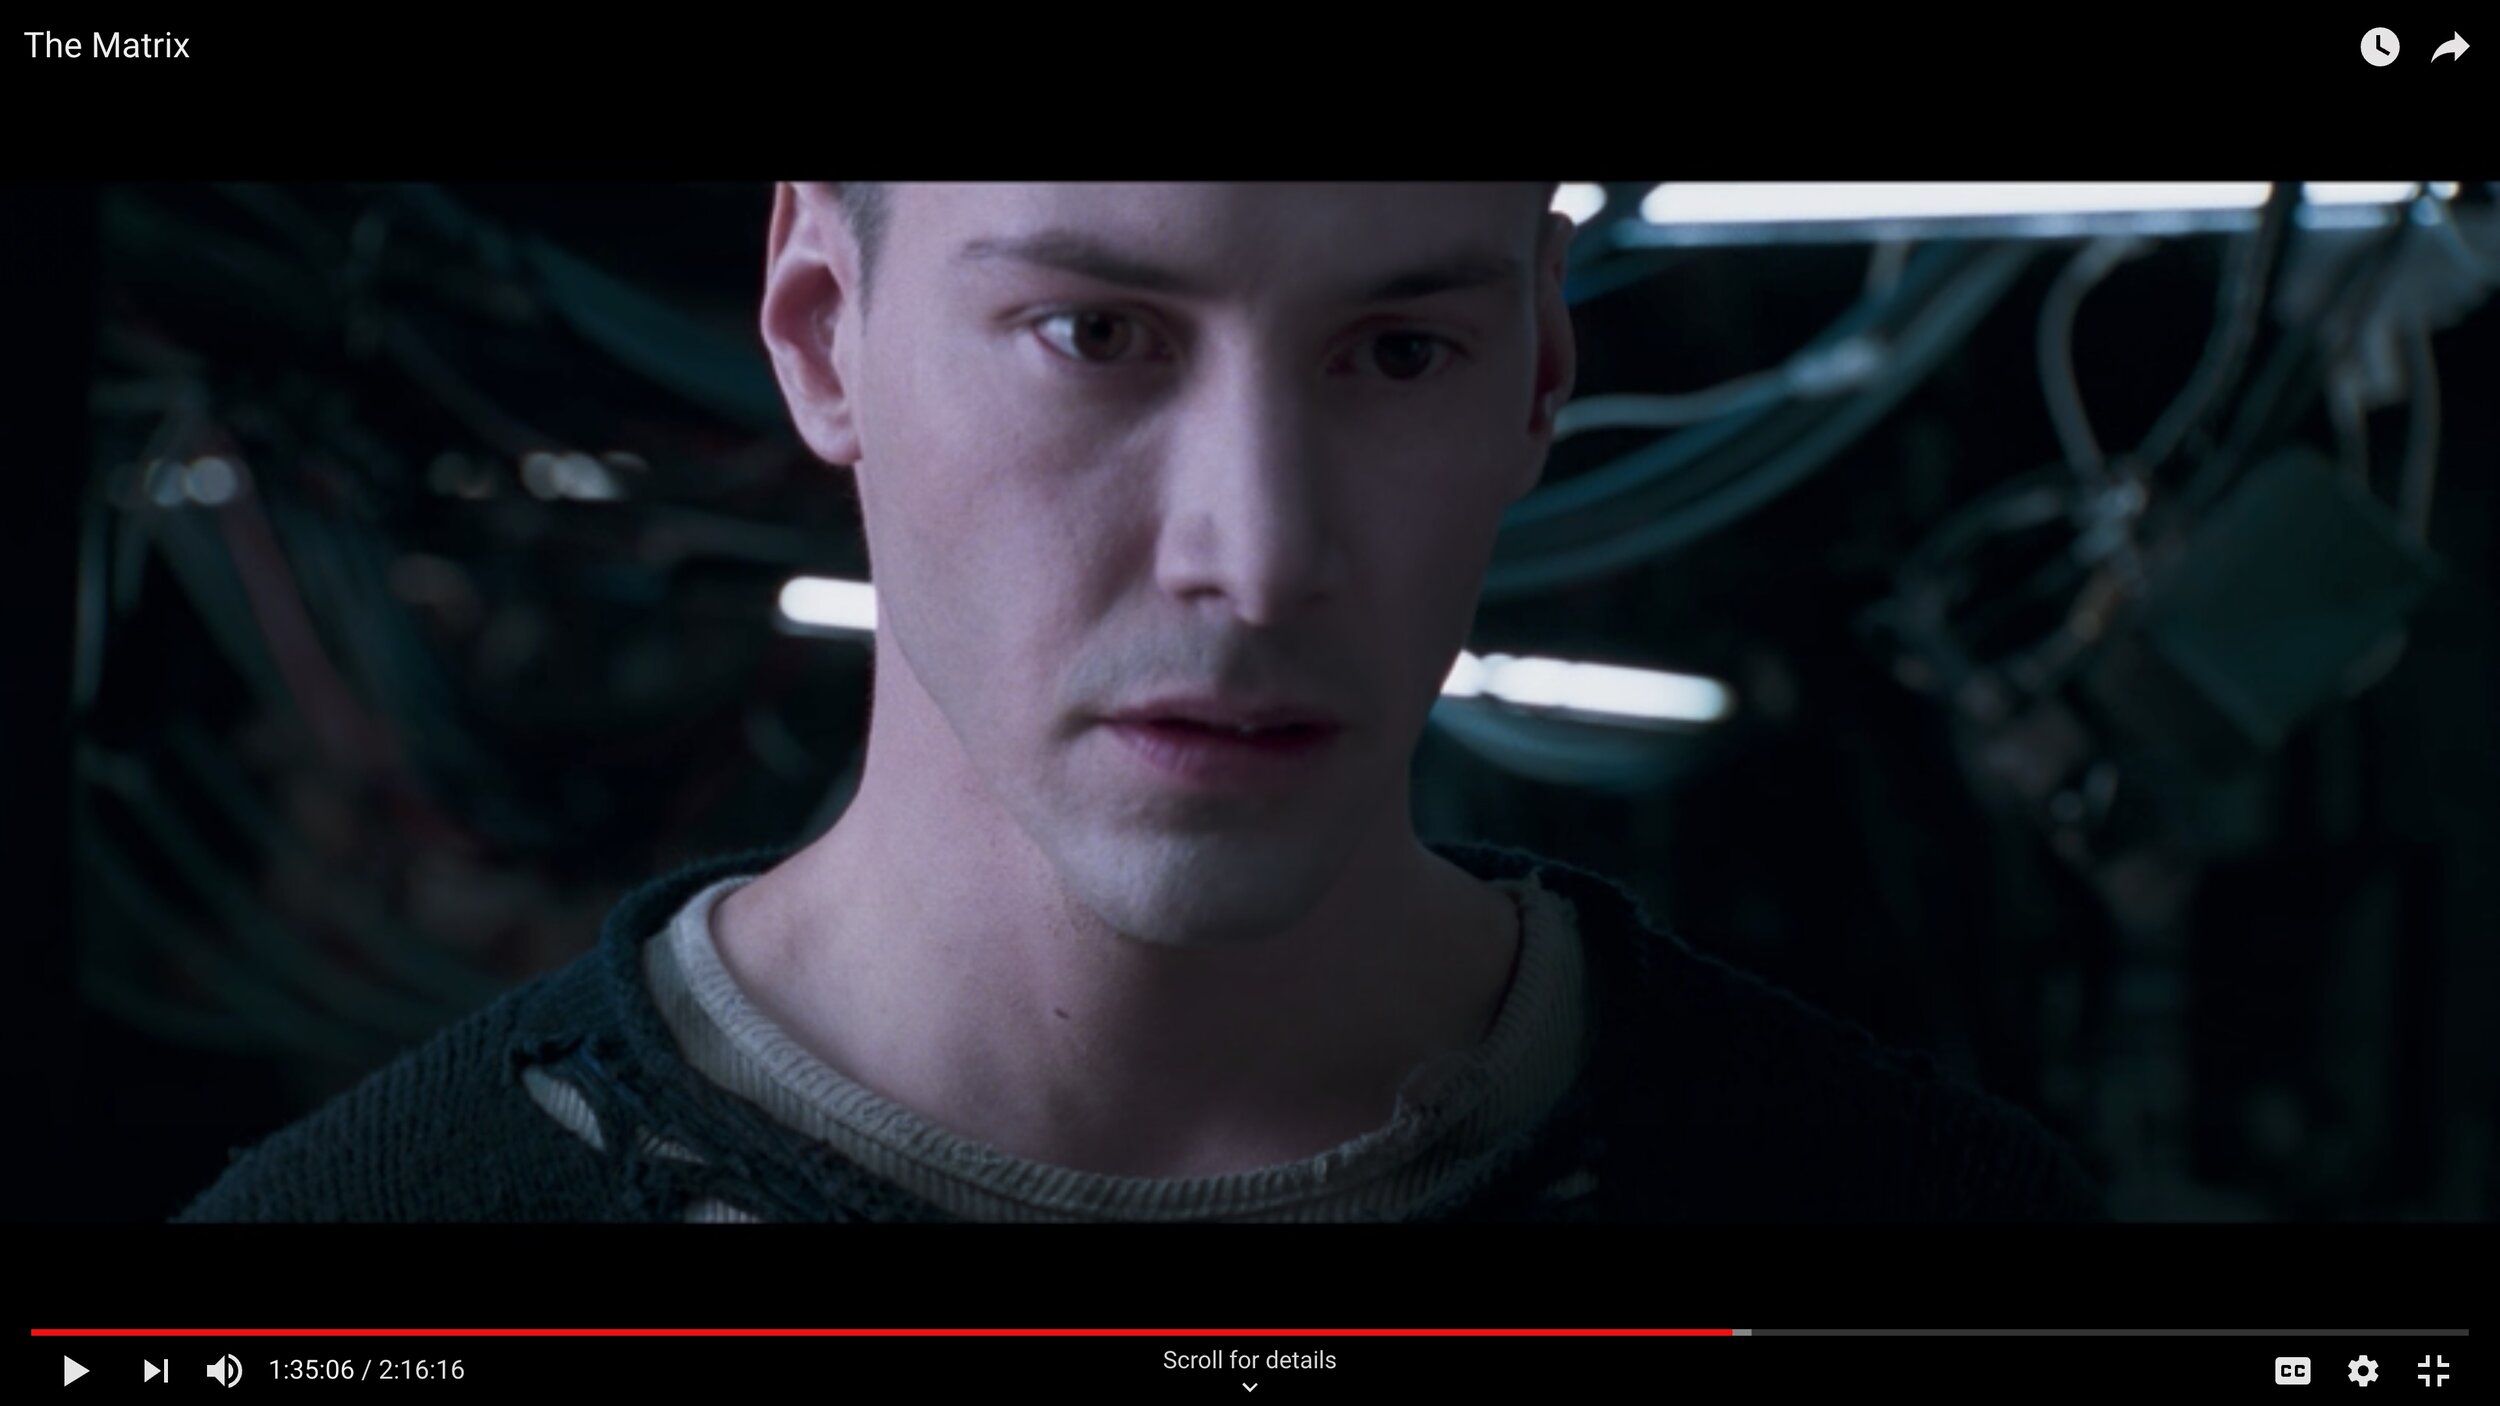
Neo learns he is not the one, then the agents attack and capture Morpheus, then Cypher gains control of the Nebuchanezzar and holds Neo at a life/death moment putting at risk the entirety of Zion. Hence, perceptively, all is lost.

The emotional reaction of the characters after finding out everything they have been working towards is at stake, if not momentarily gone. Hence Dark Night of the Soul.

Now that Zion is at risk, due to Morpheus being captured and Neo being told he is not the one, a new plan has to be made if they are to save Zion from the Matrix, Morpheus from the Agents and Neo from accepting the Oracle’s telling. Neo chooses to believe in something…he can bring back Morpheus.

Now that Neo believes in himself for serving a purpose, Neo, Trinity and Tank act upon that belief…they load out and head to bring back Morpheus.

Choice - To fight the agents to bring back Morpheus

Action - Fight agents leaps to extract Morpheus

Reaction - Saves Morpheus

Action - Saves Morpheus then holds line to save Trinity

Reaction - Saves Trinity also resulting in Morpheus, Trinity and Tank securing their belief in him, as well as himself due to disproving what the Oracle stated.

Choice - Having been shot and killed by the Agent, Trinity doesn’t accept this as outcome and chooses to express her love to him.

Action/Reaction - By expressing her love in reality, Neo’s life is revived and comes back willing to fight the Agent.

Action - Neo says “No” stopping the bullets, now knowing he has the ability to make the rules in a place where he is not governed by the rules and defeats Agent Smith.

Reaction - Having defeated Agent Smith, the other Agents cower away.

Choice - With sentinels in pursuit, Morpheus believes and chooses to wait for Neo to get out of the Matrix.

Action - Having defeated Agent Smith, Neo makes it out in time for Trinity to fire the EMP.

Reaction - Neo’s life, Trinity’s, Morpheus’s and Tanks Life is saved as well as Zion. The Matrix is now afraid of Neo and his abilities.
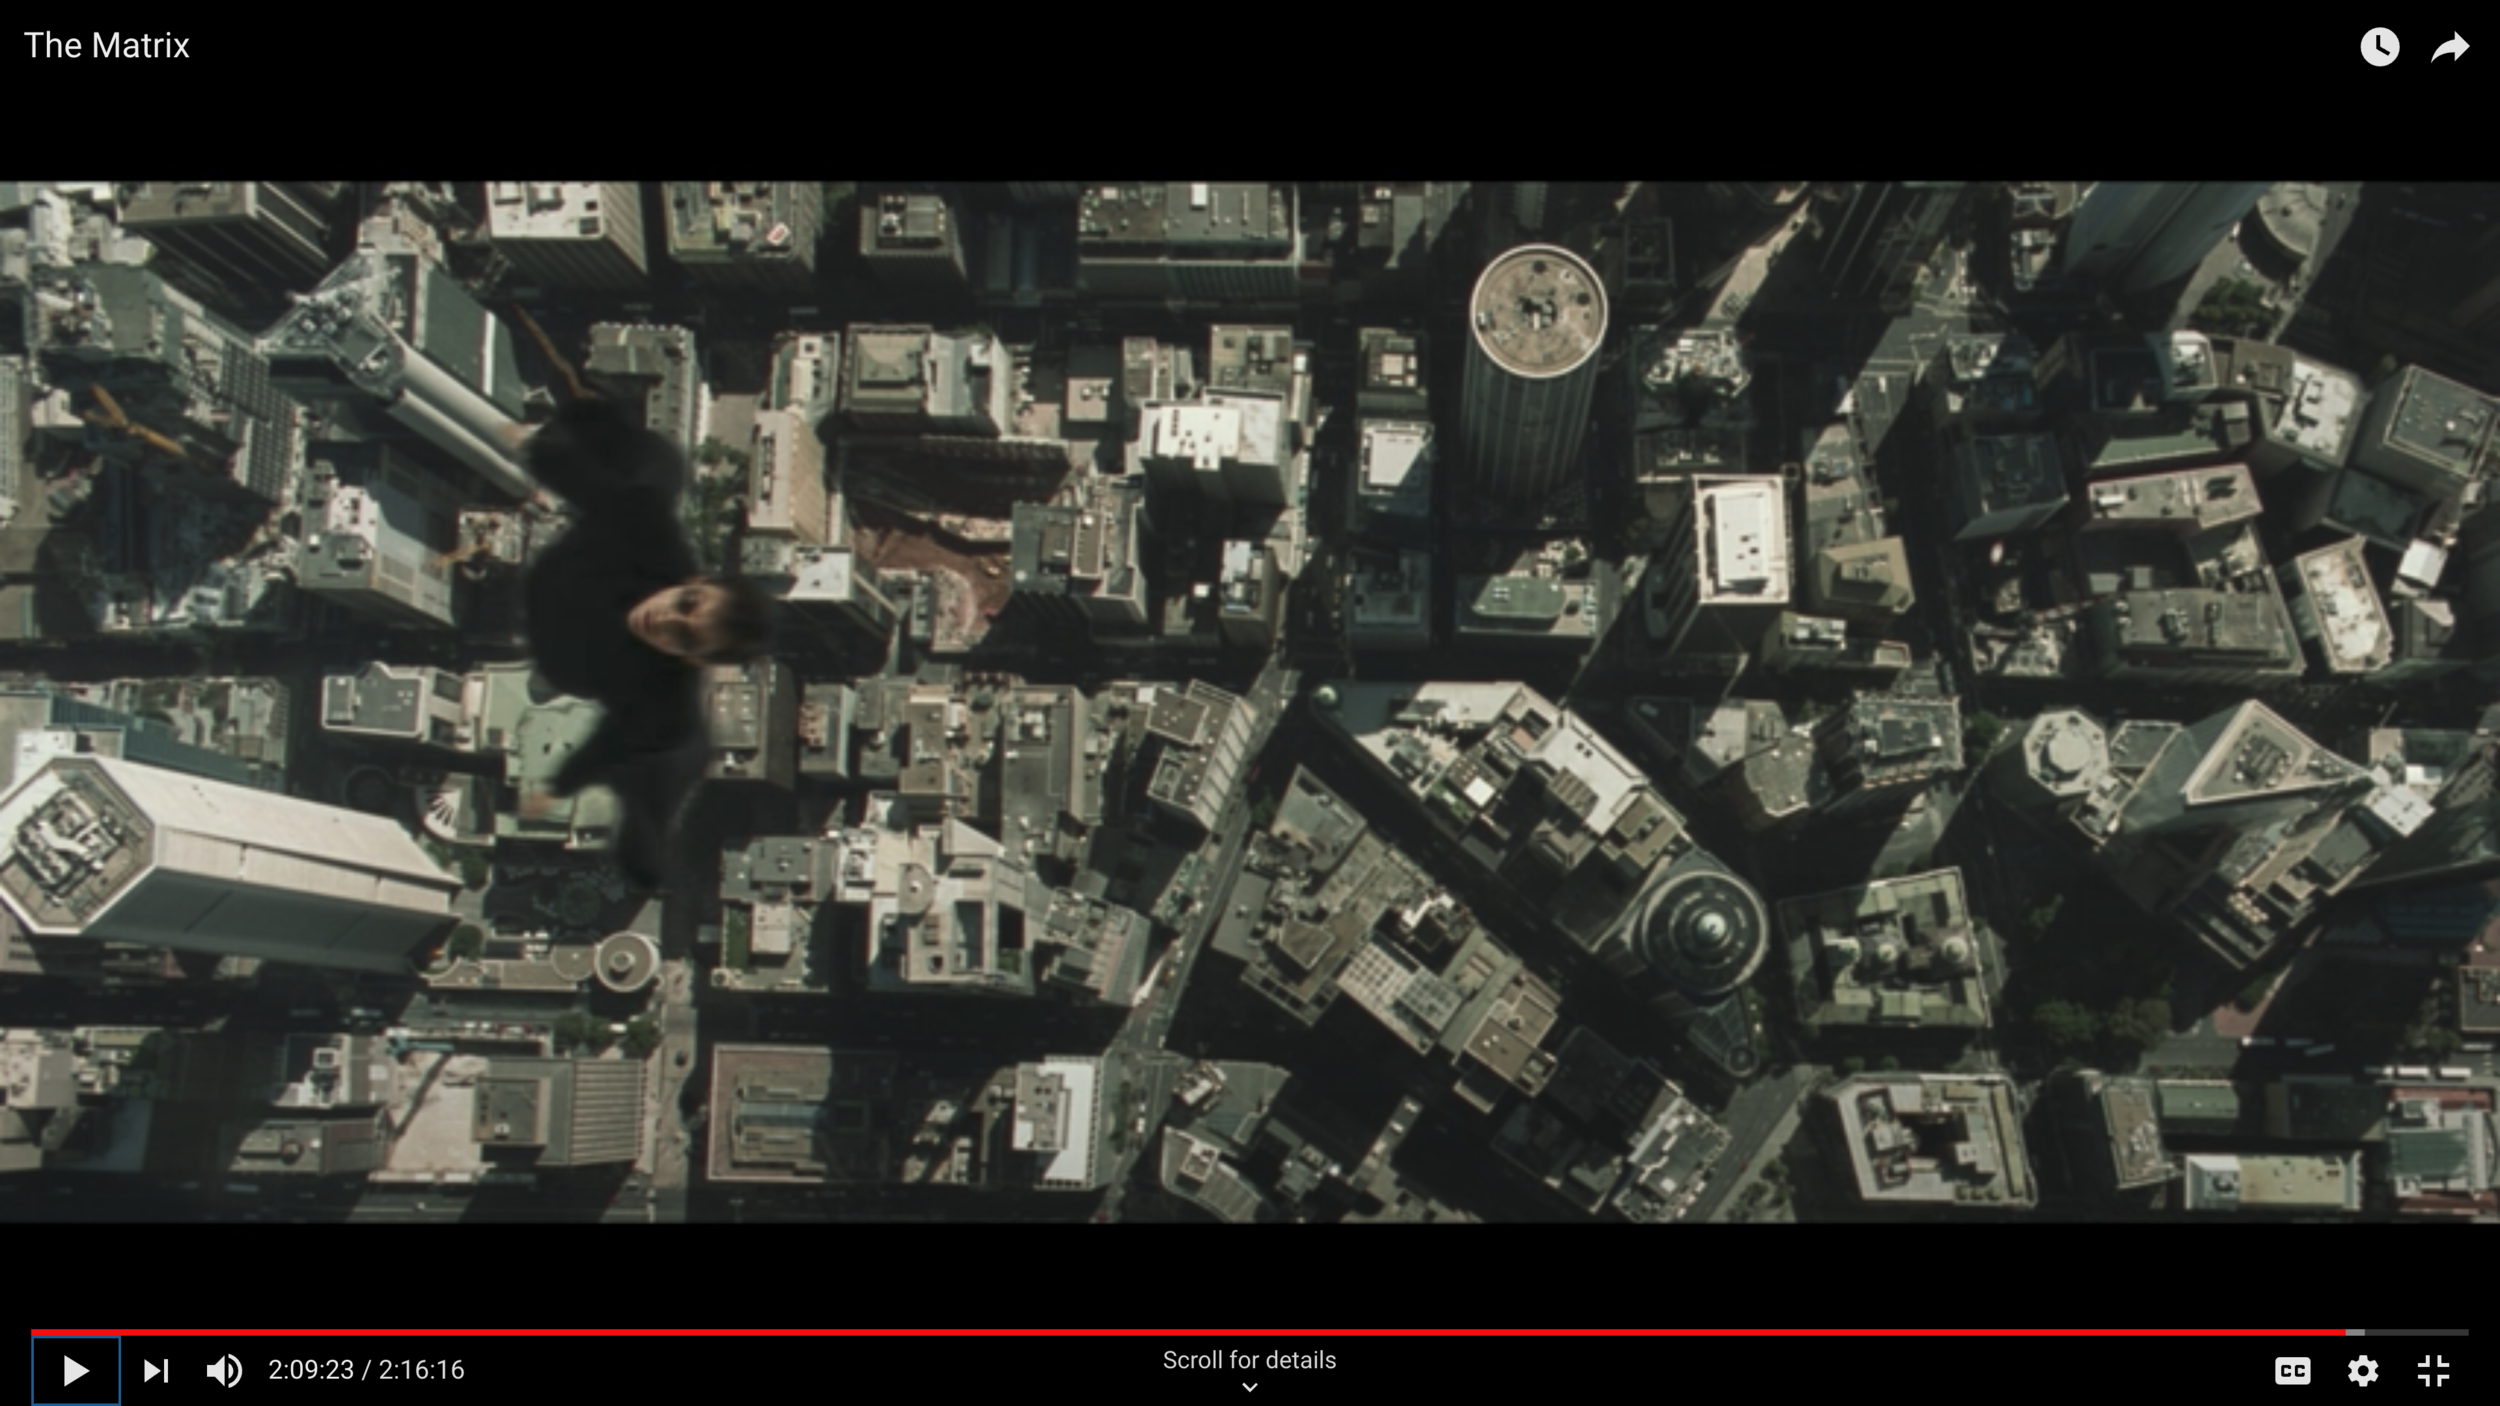
The Matrix is now afraid of Neo, Zion and change.


2. Hero’s Journey Overview

2.1 Neo’s Hero’s Journey

Lives as computer programmer/hacker.

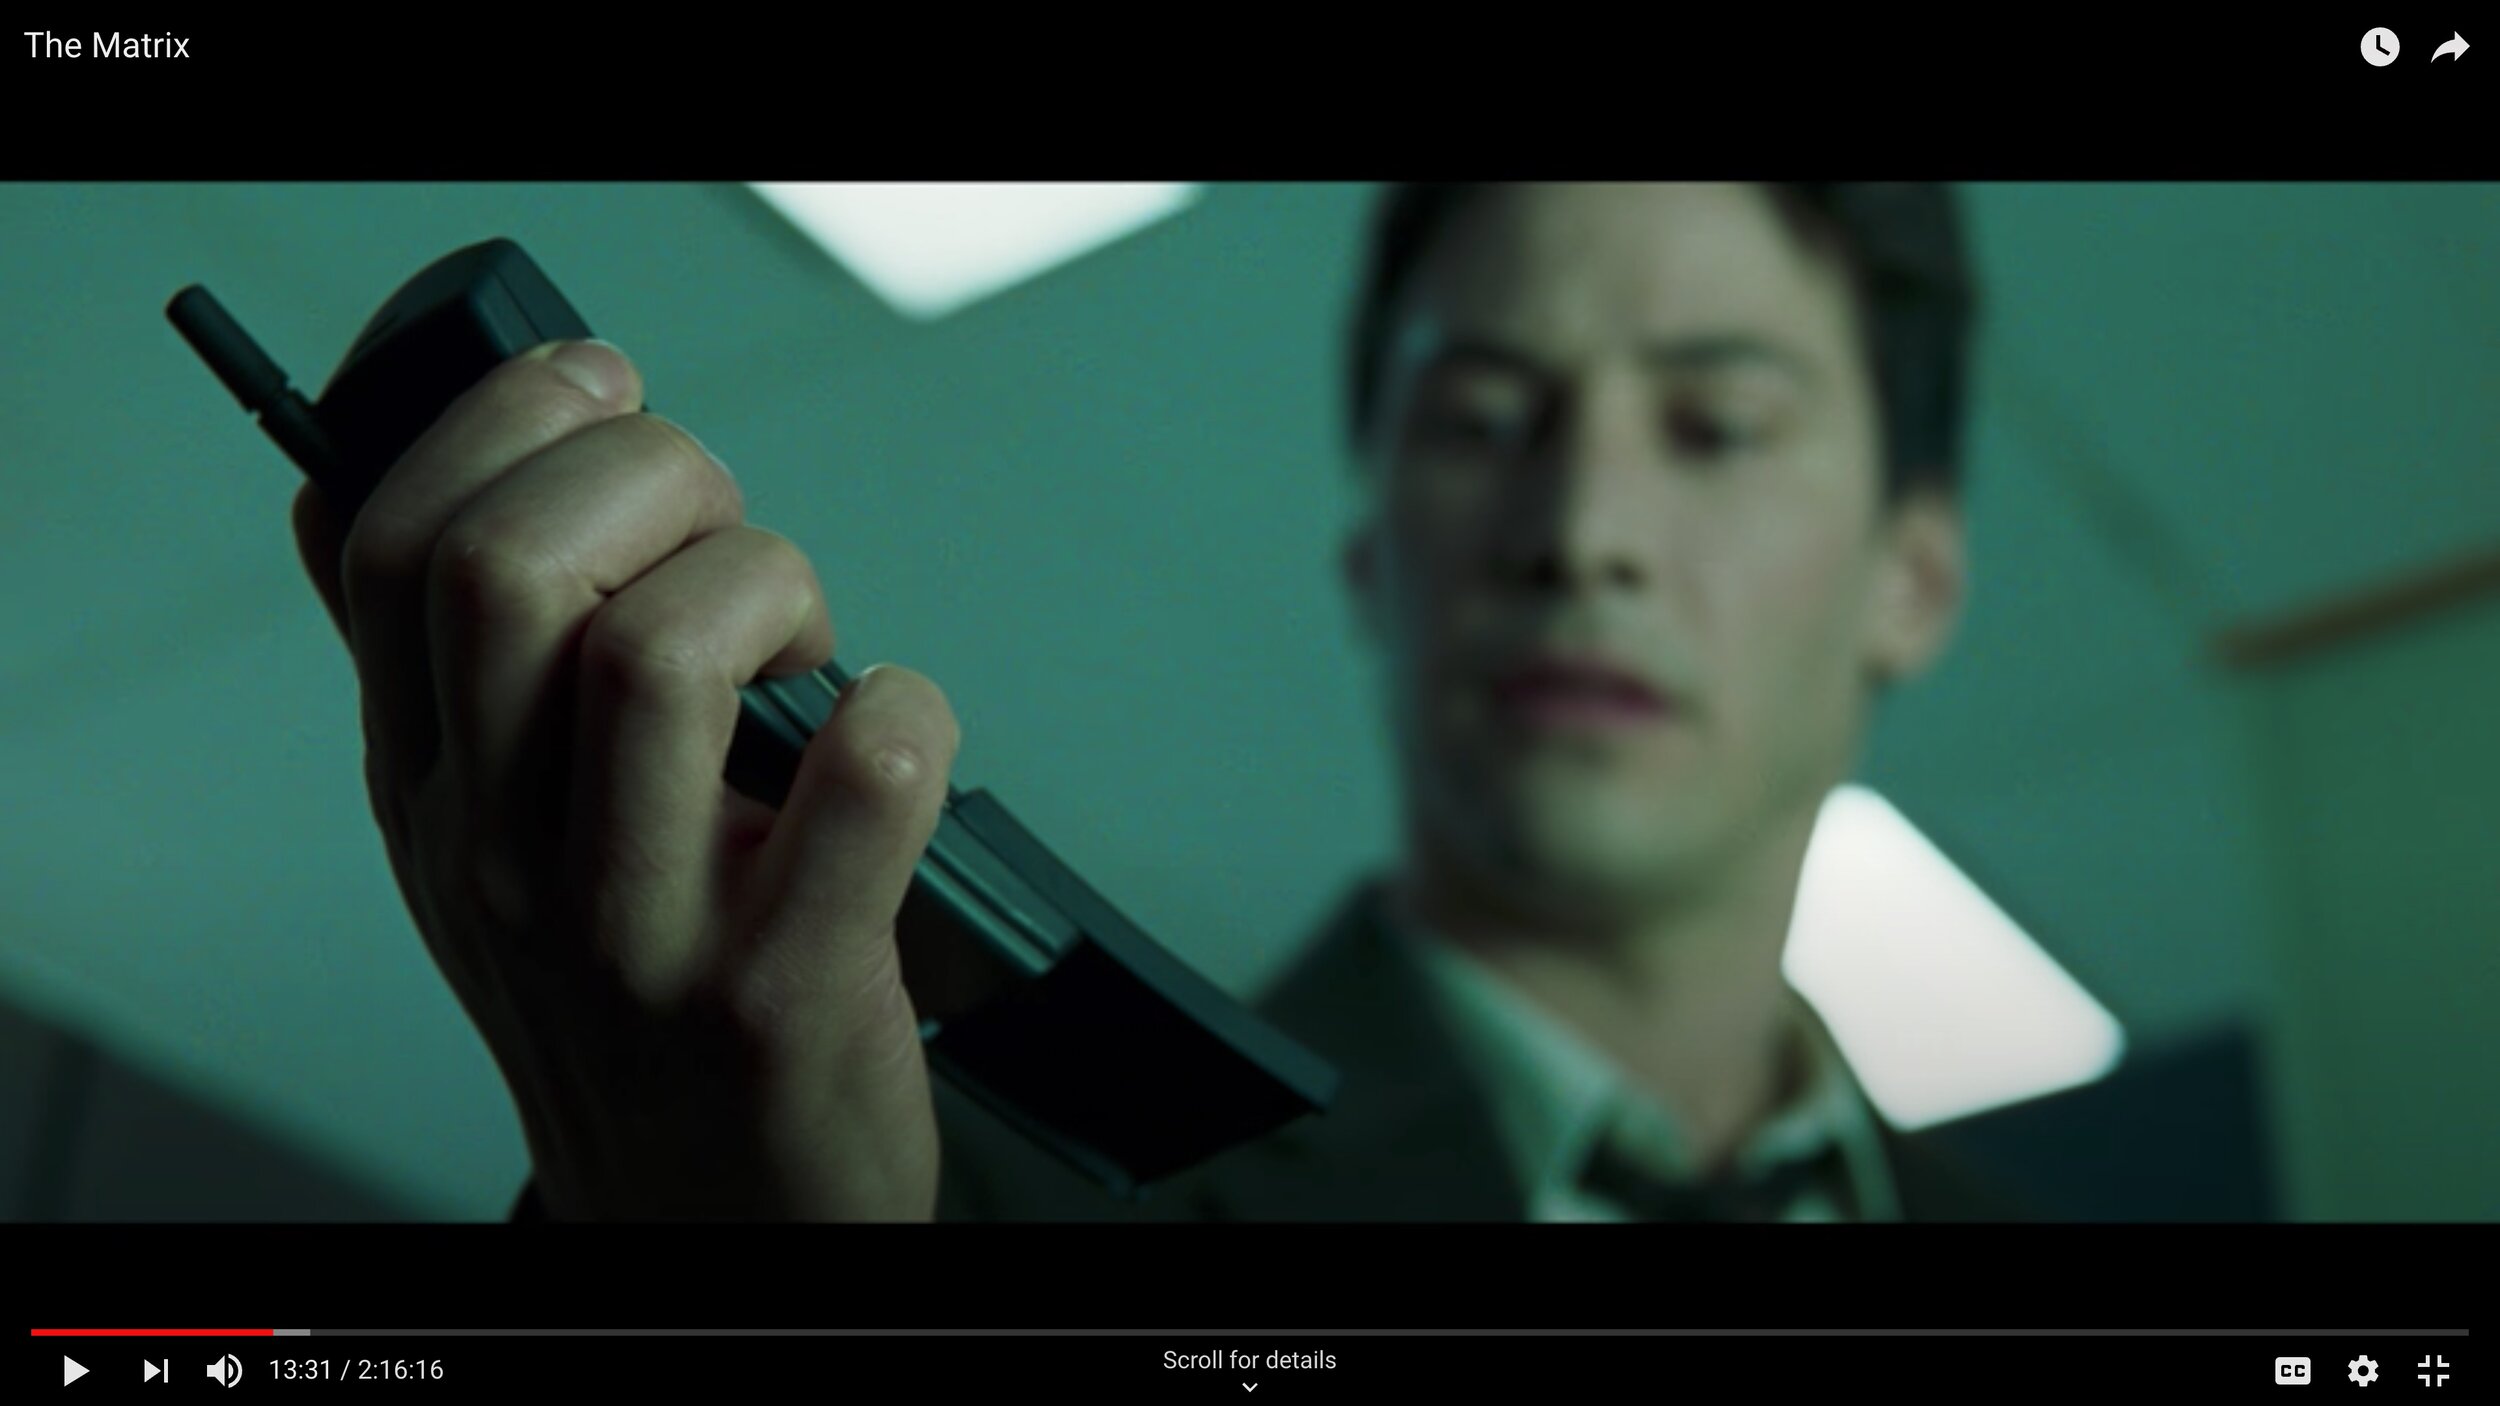
Called via mobile phone by Morpheus.

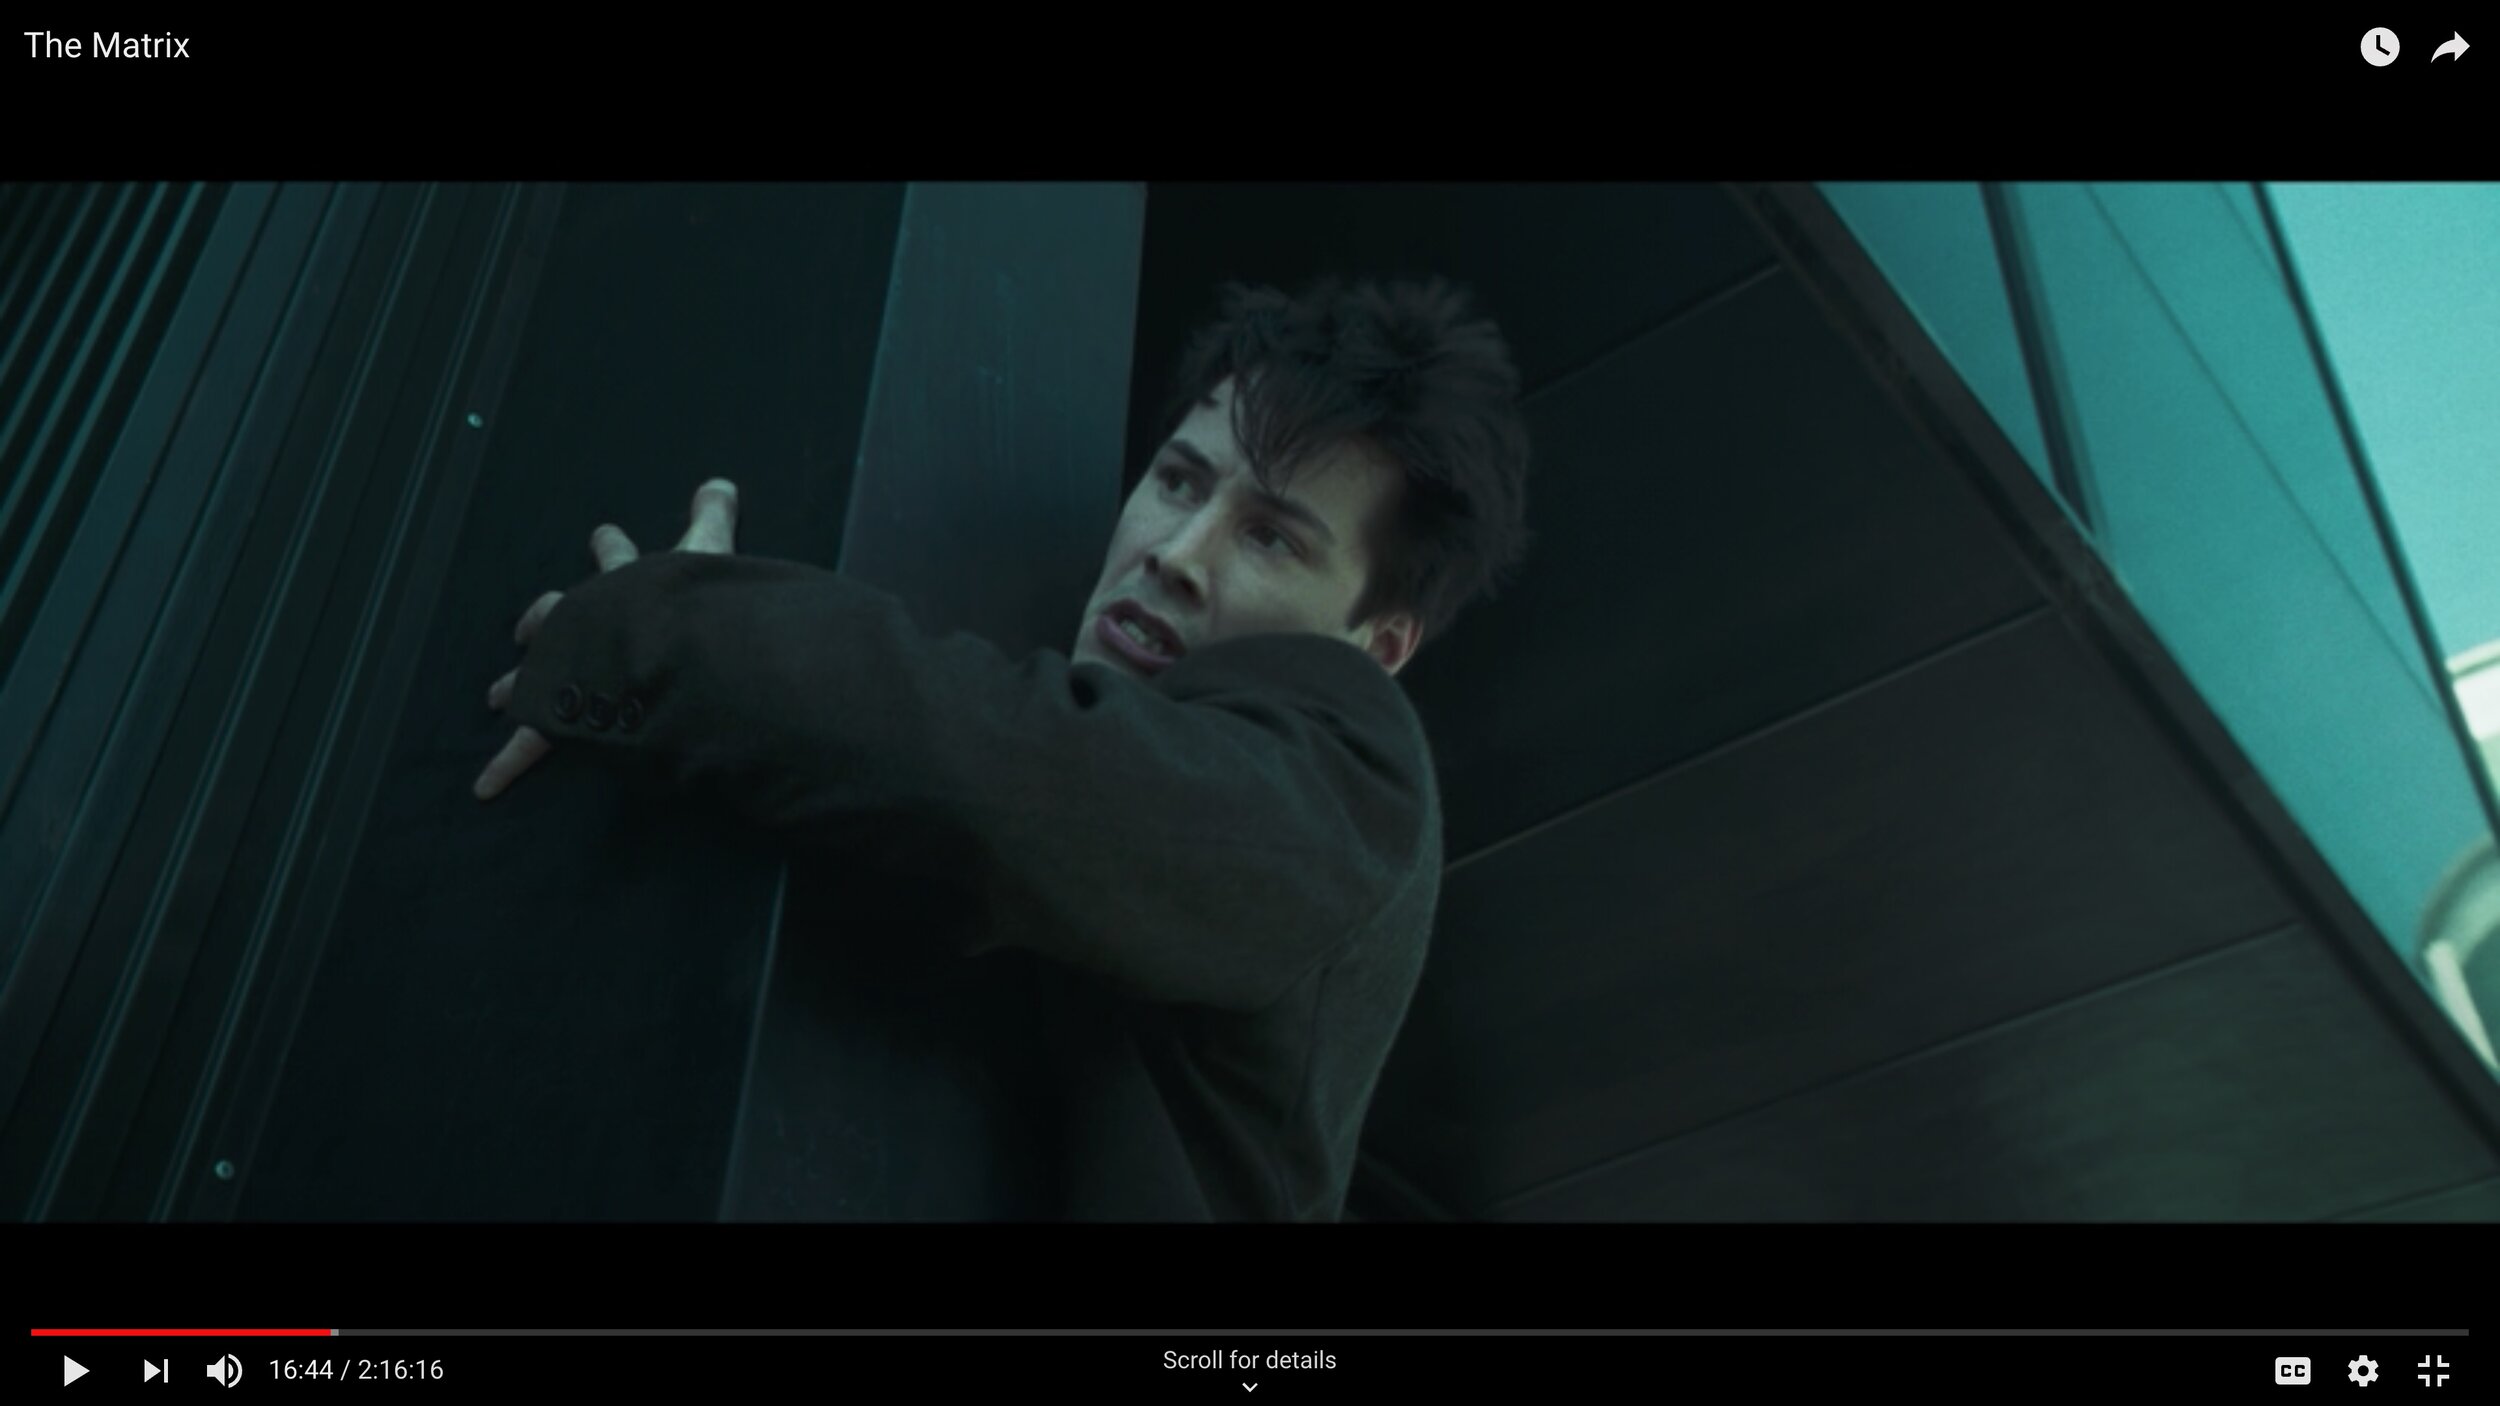
Tries to escape potential capture by agents with help of Morpheus, but can find the courage.

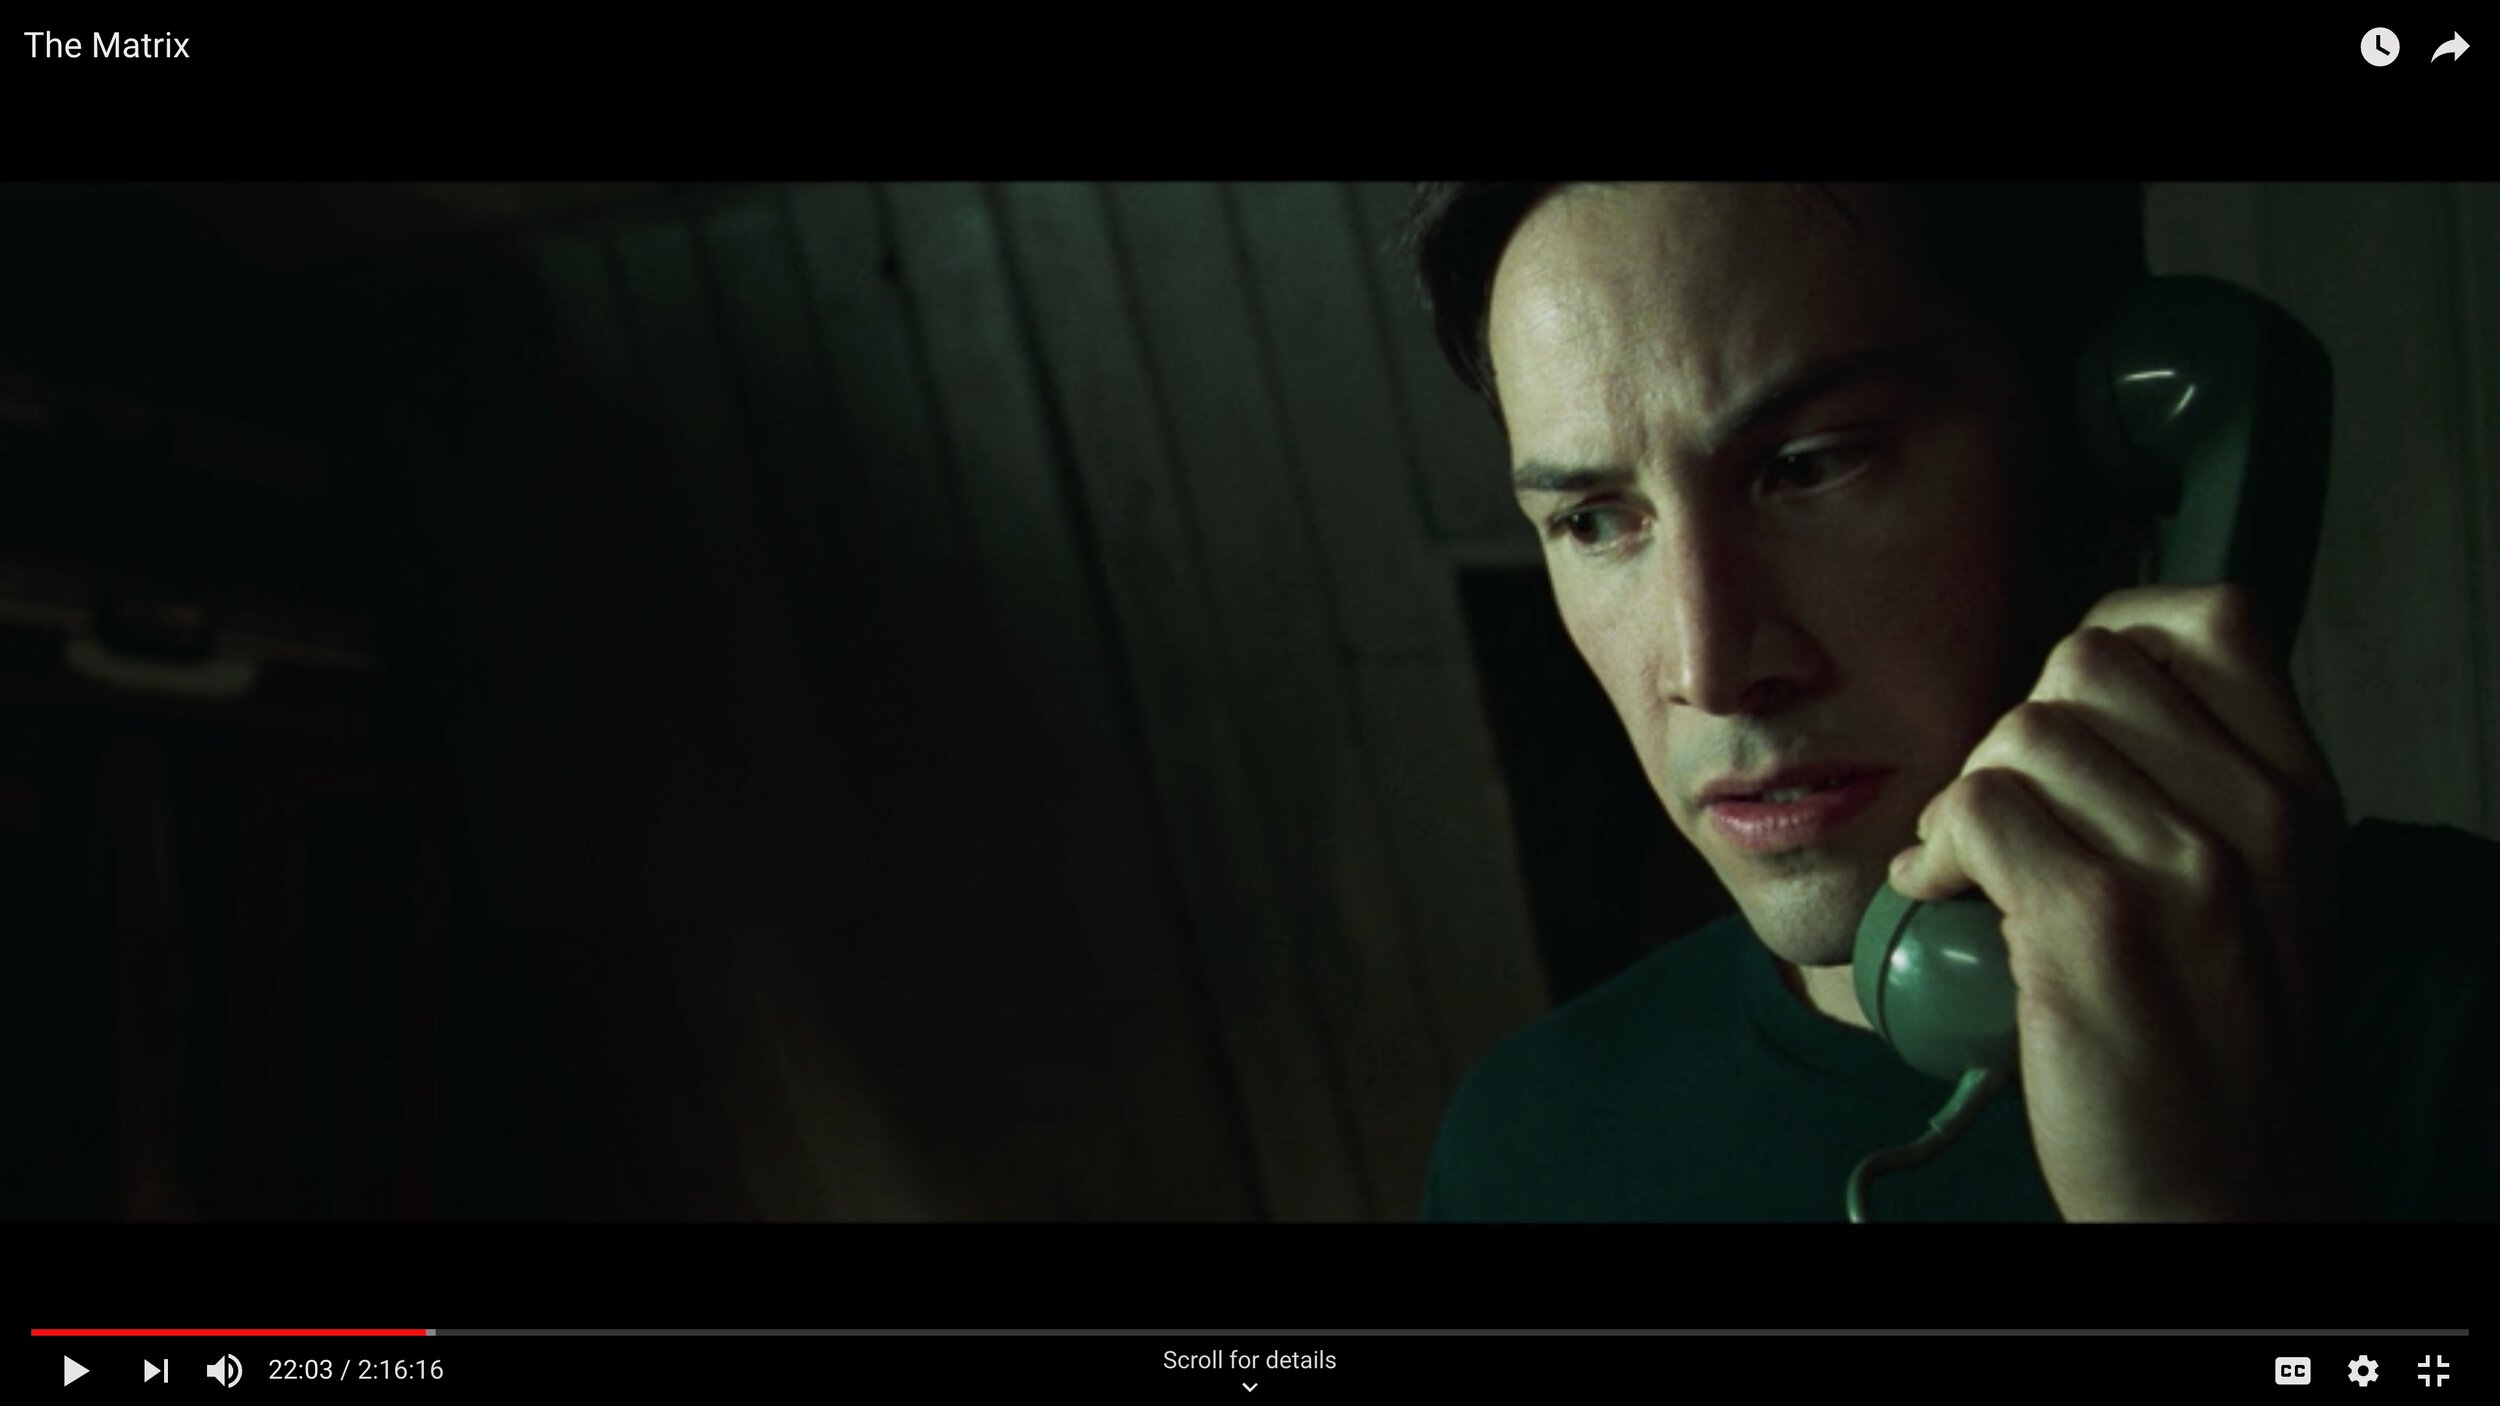
Morpheus calls Neo asking him if he wants to meet.

Morpheus is Neo’s supernatural aid as he mentors his through his journey.

Neo exits The Matrix and enters the Real World.

Neo is born in the real world.

Neo has to go through muscle growth since he has never used them.

Neo is introduced to the Real World and denies its truth and then learns to accept it.

Neo doesn’t know how to fight and therefore must go through training, thus gets its downloaded to his brain.

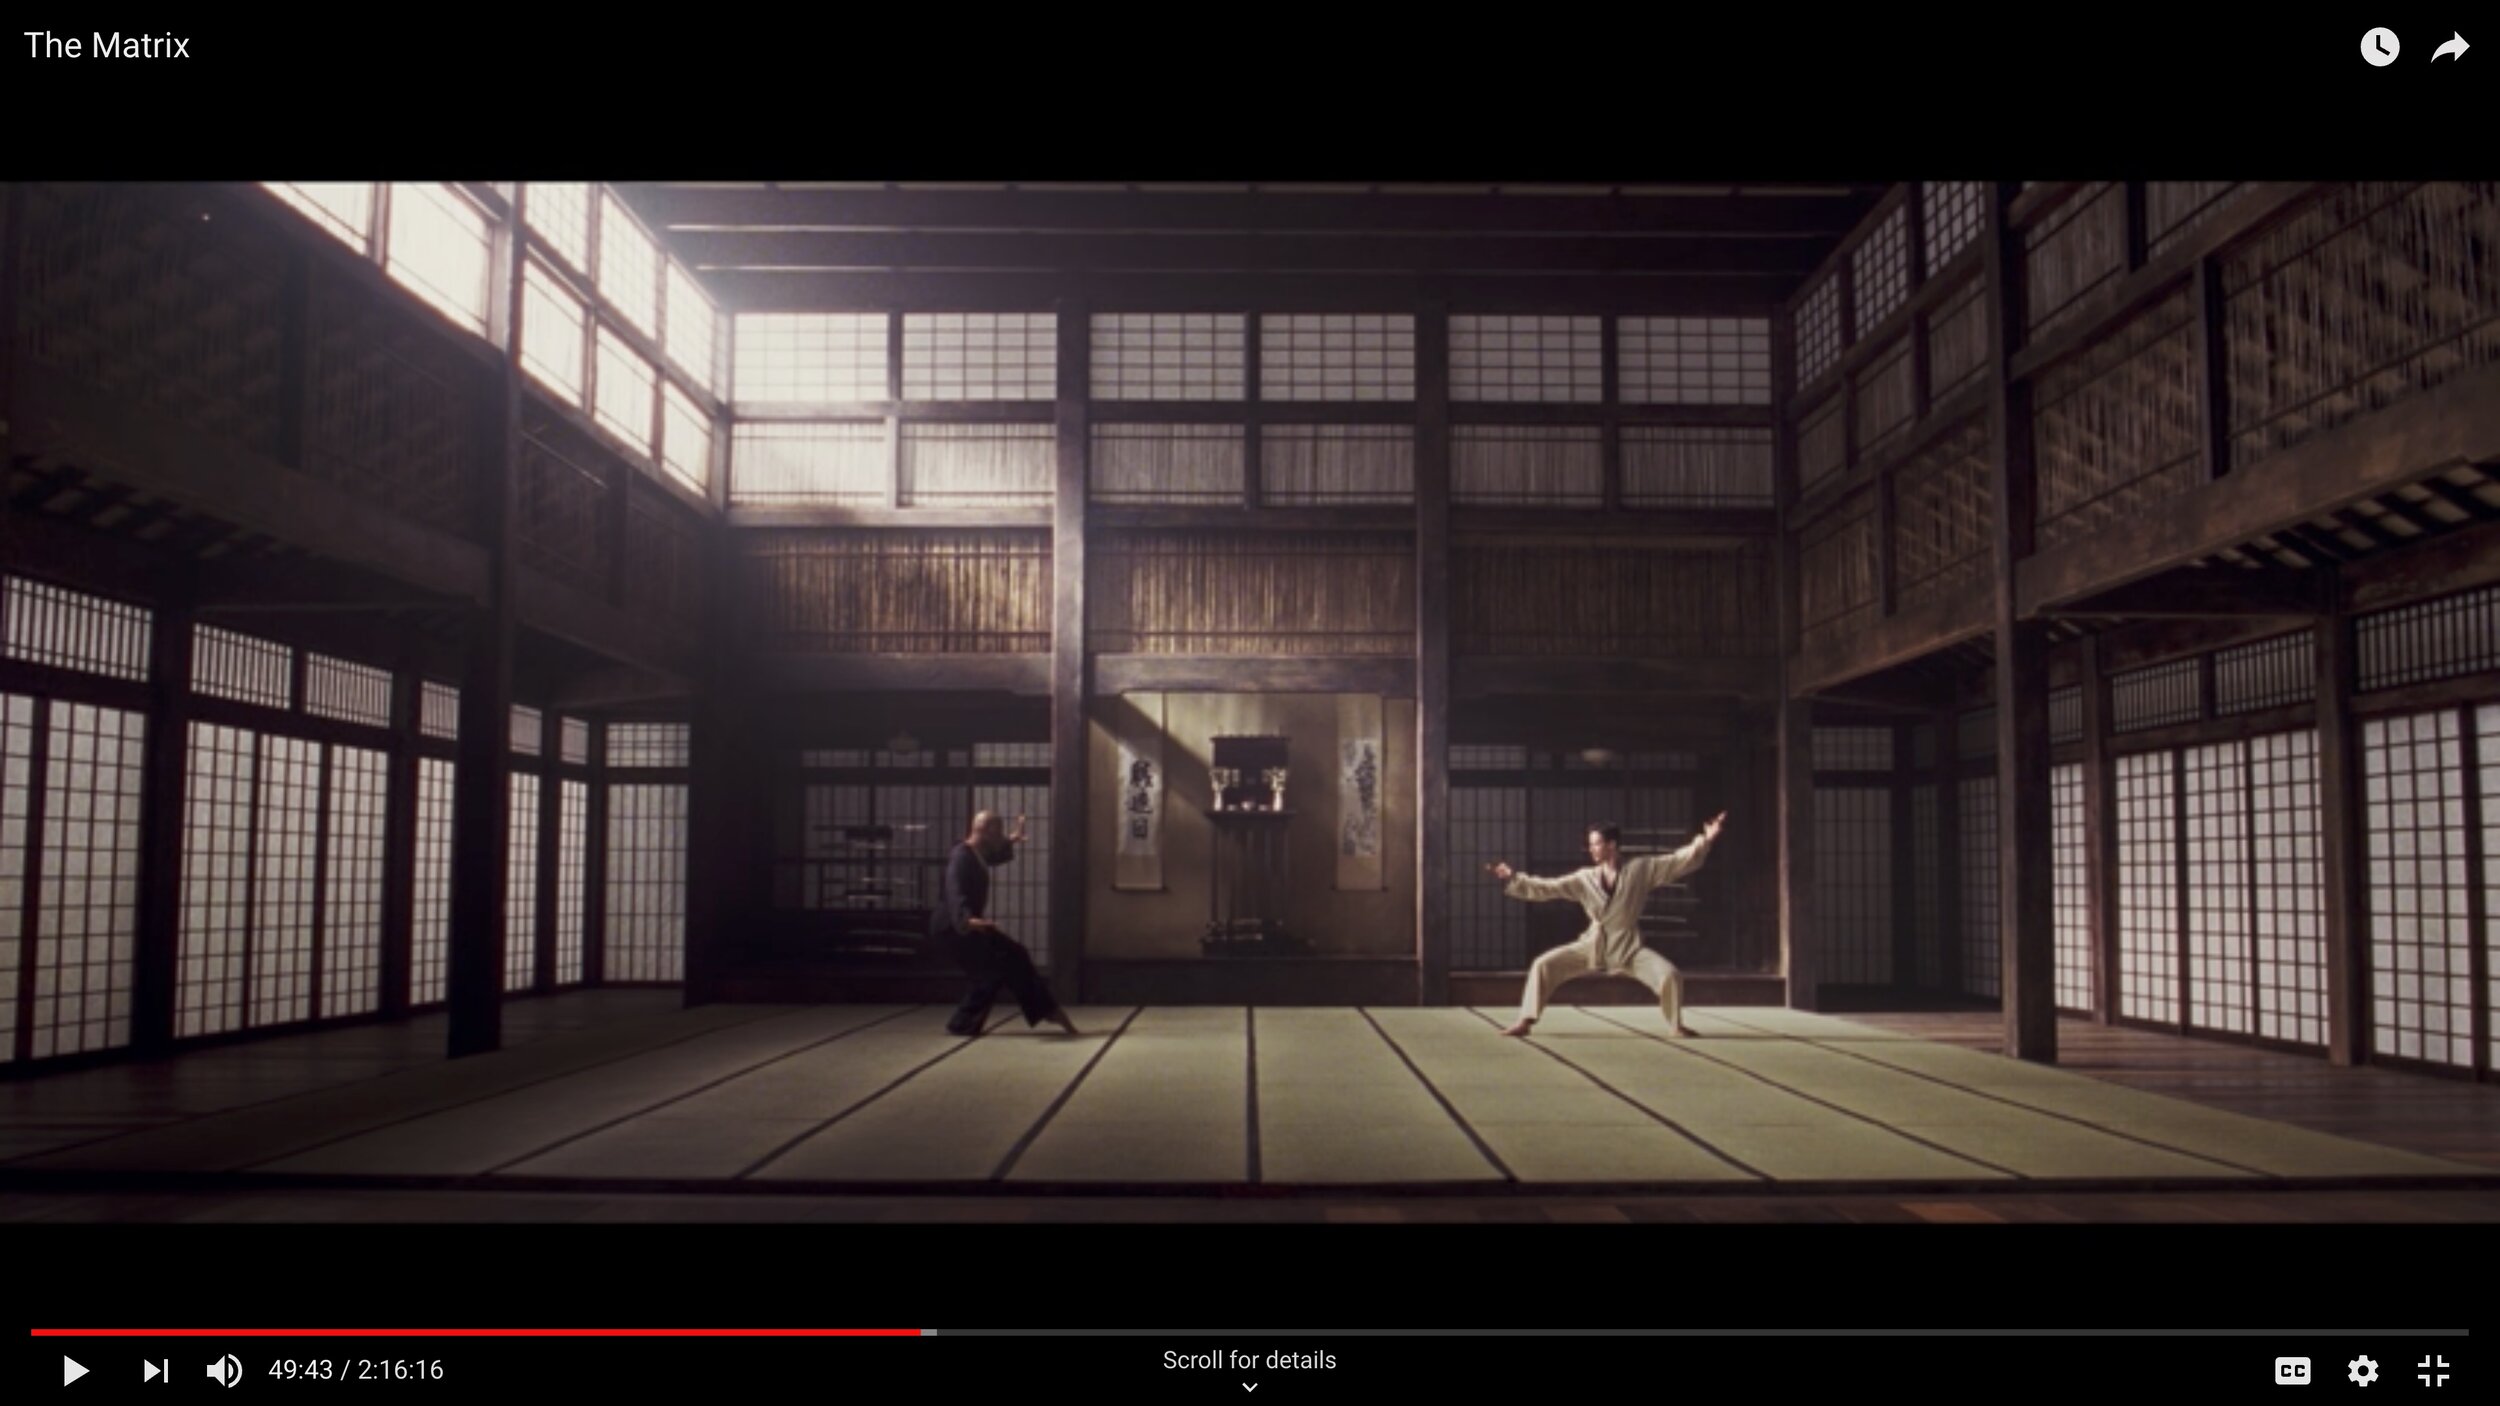
Neo tests his skills against Morpheus.

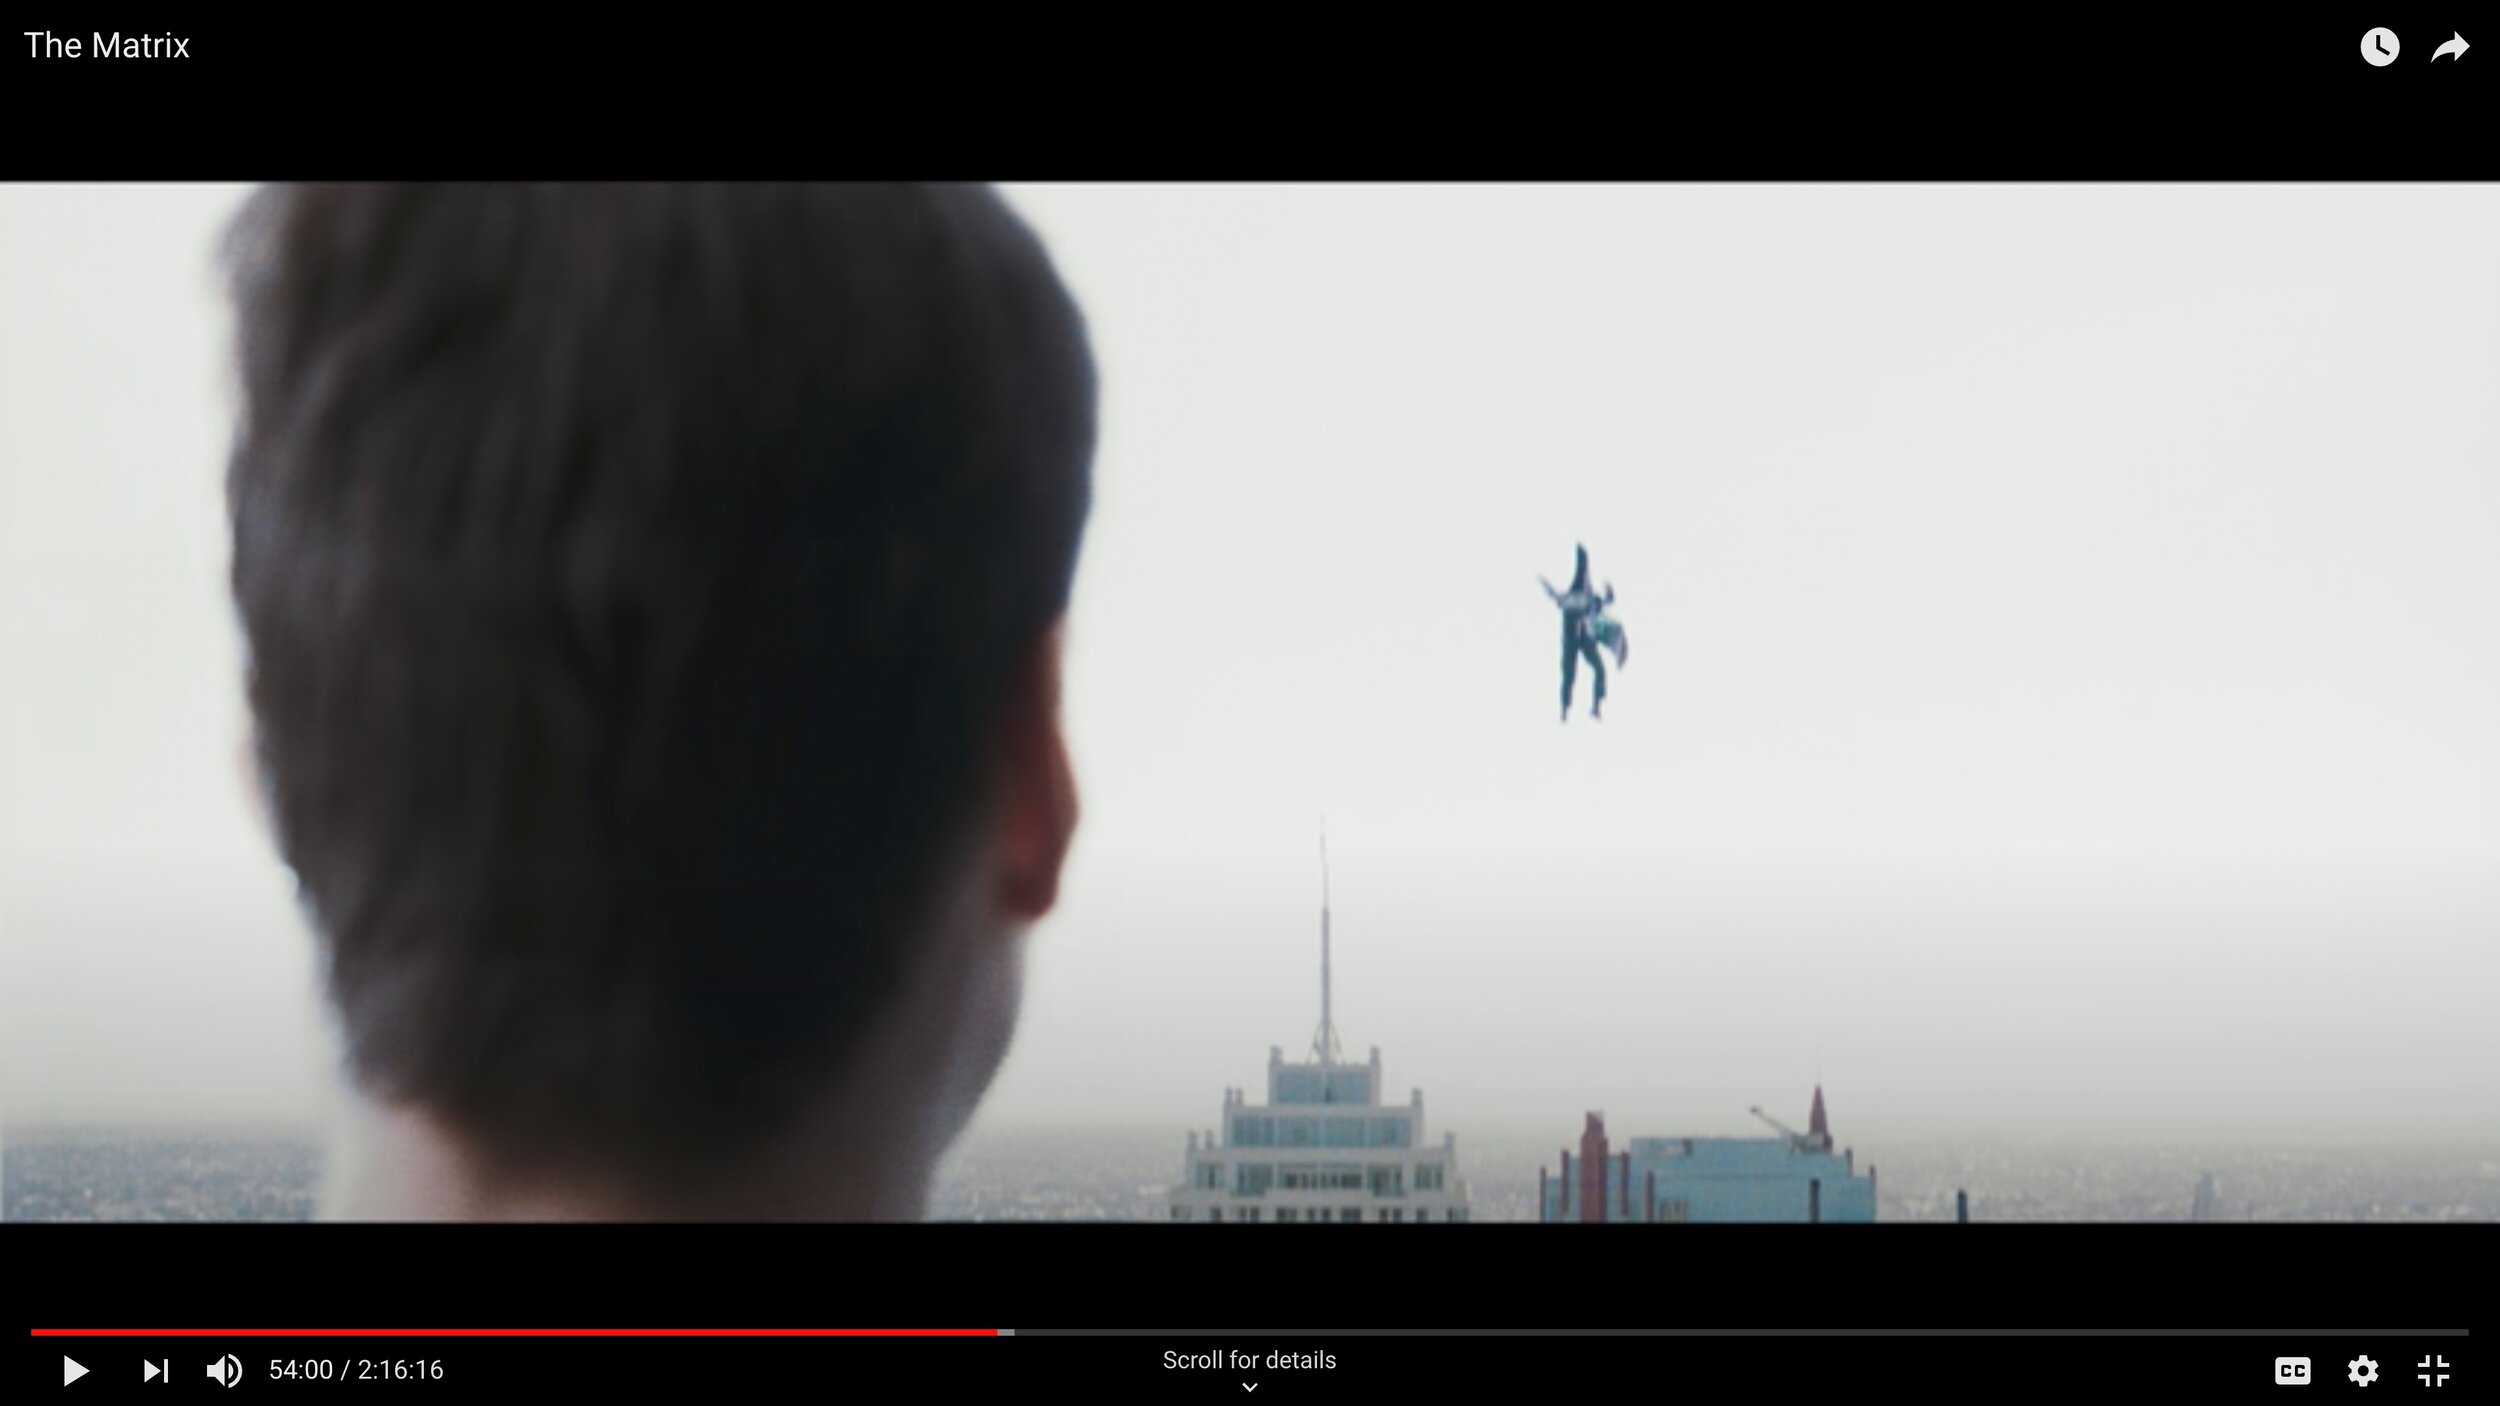
Neo is tested in the Jump program. (Leap of Faith)

Test of Distraction - Woman in Red

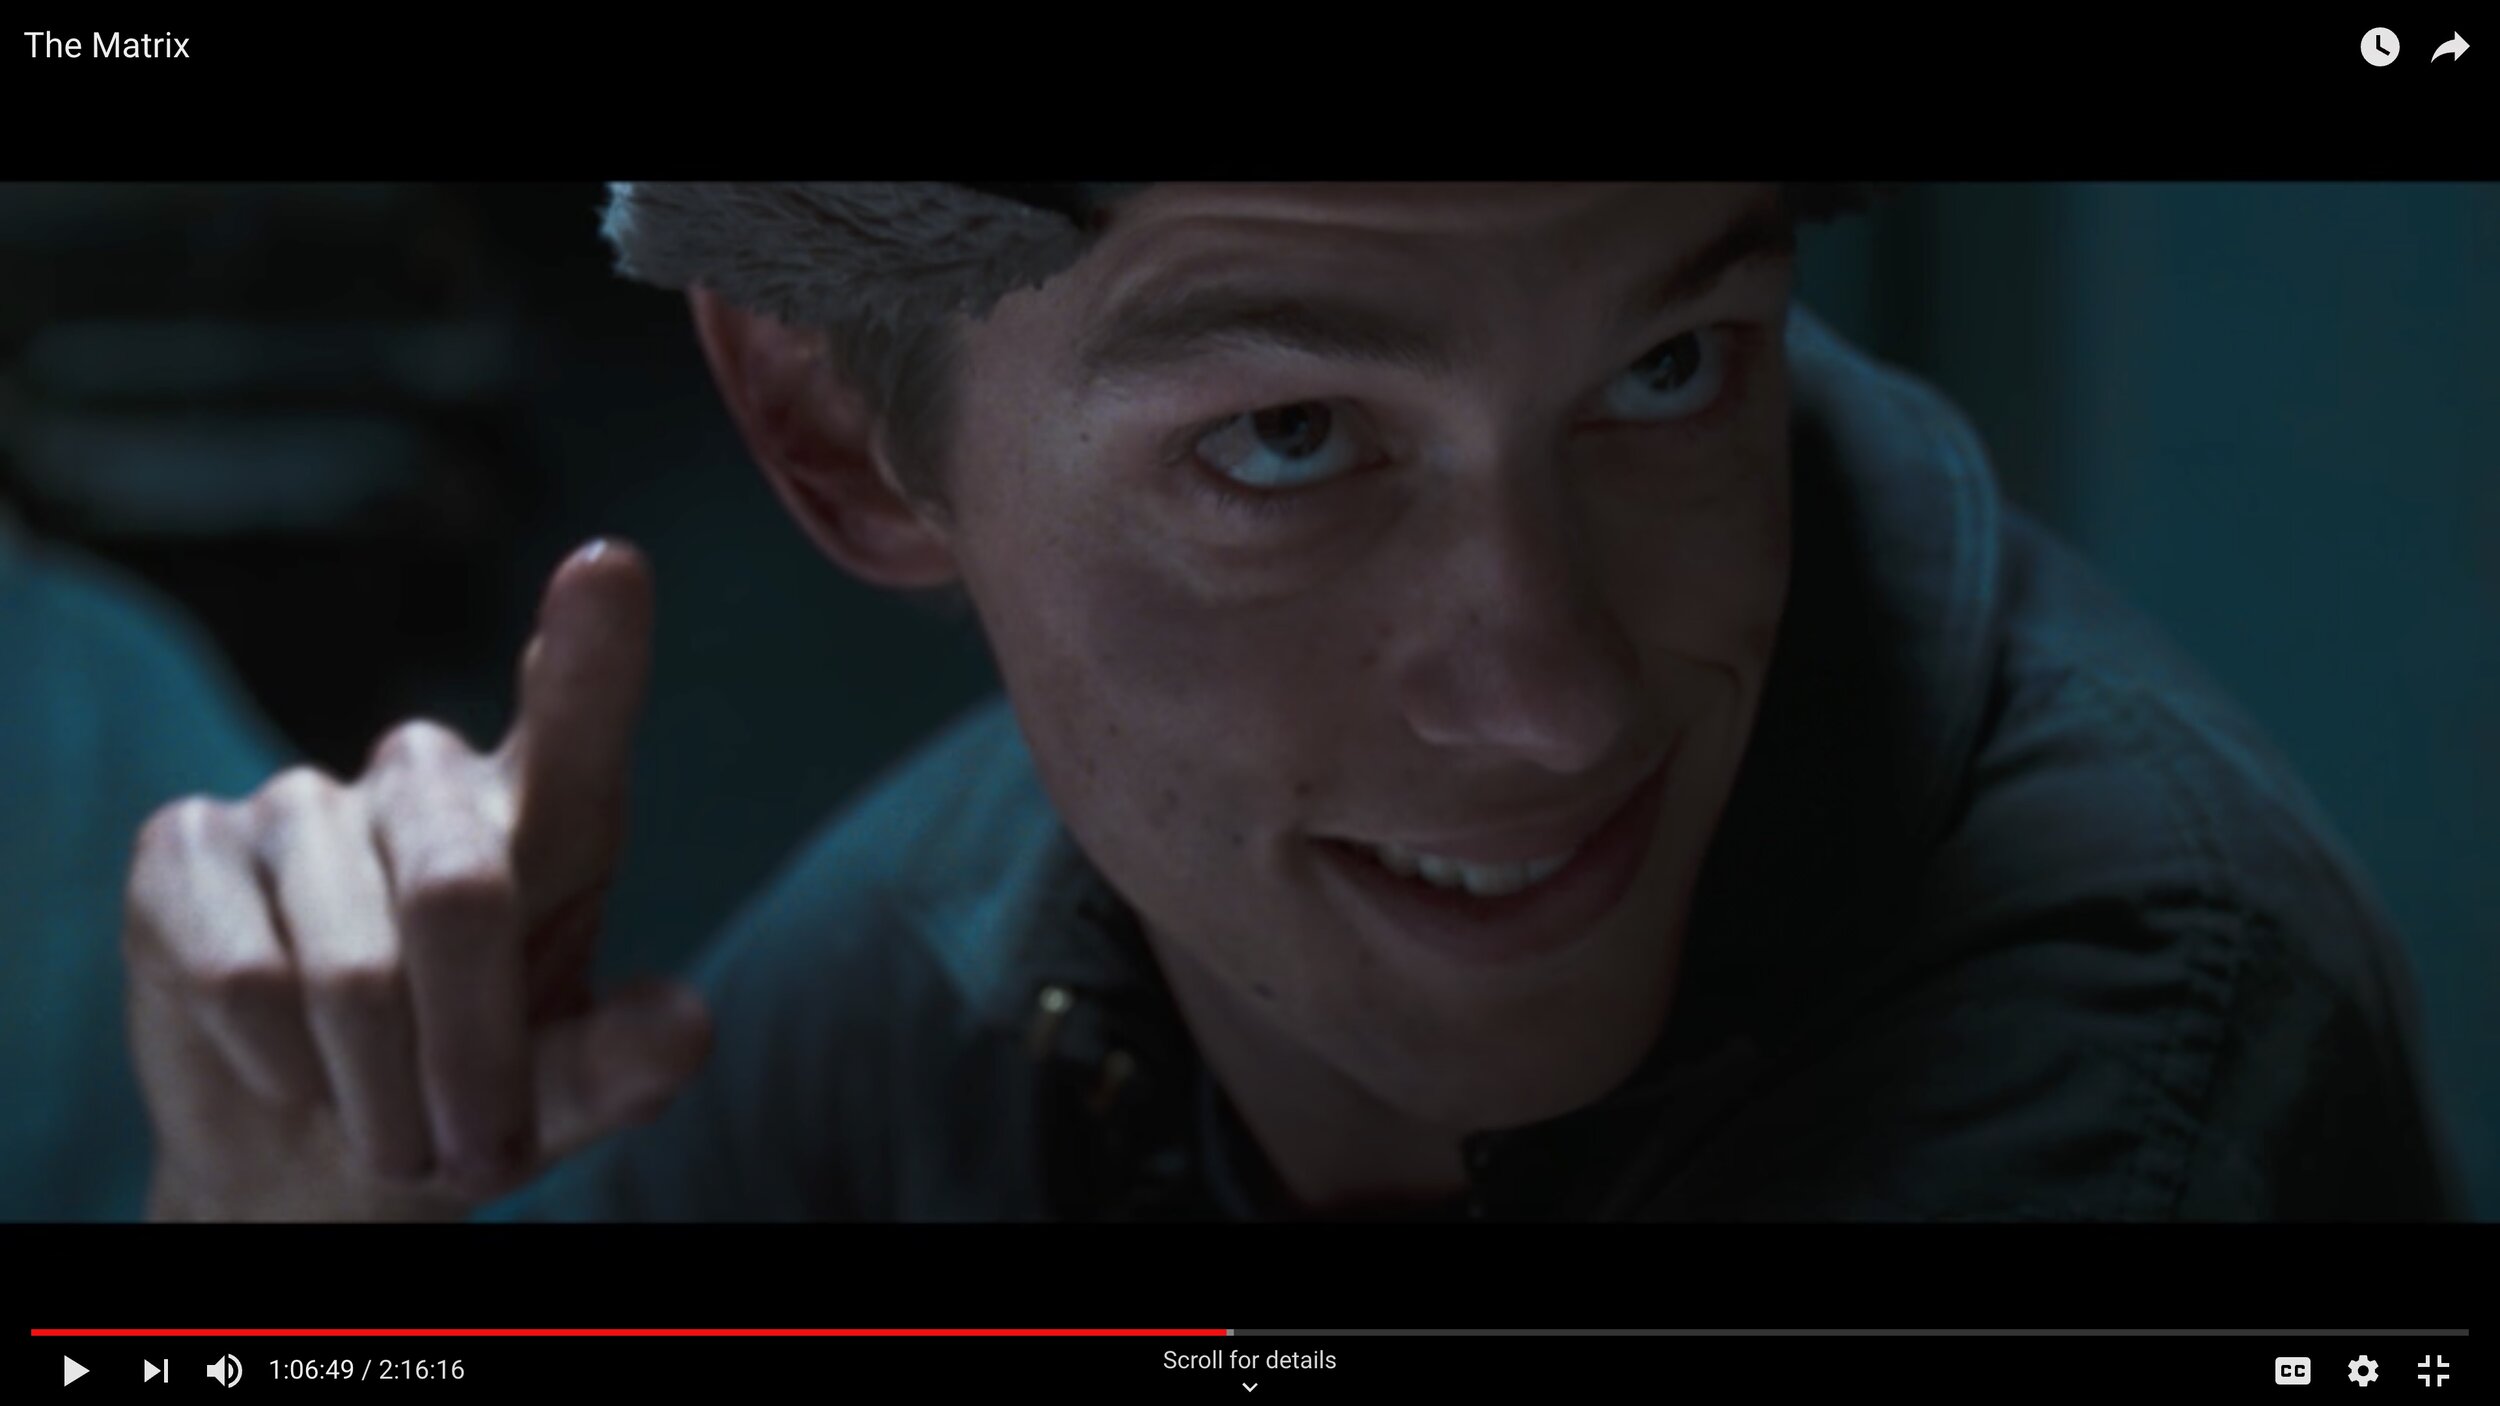
Seems to be Cypher trying to empathize with Neo on taking the blue pill and also Mouse offering a one on one with the woman in the red.

Meets with the Oracle.

Neo can’t accept that the situation of Morpheus or himself dying is mere coincidence and he would have to make a choice between the two. He believes that there is another way, thus believing that his will can change the outcome. Atonement with the Father is coming to believe the knowledge of the Father.

Morpheus was ready to give his life for something he believed…Neo understands that now and believes he can bring Morpheus back. (Save the Father from the Belly of the Whale)

The goal of the quest was for Neo to believe in himself and this proved worthy after saving Morpheus and Trinity. Now he believes he is ready to stand against the Agents.

There is no refusal of the return by Neo.

Neo, now believing in himself needs to escape back to the Real World, but has the Agents to fight against first.

Guided by Tank and then rescued back to life by Trinity’s Love.

Neo crosses back from the Matrix to the Real World having gained wisdom.

Having defeated Agent Smith, Neo now is a representative of that power and is a Master of that ability in both worlds. *All his lessons were learned in the Matrix except his change in belief happened in the Real World and proved in the special world.

He now lives freely and willing to confront The Matrix.
